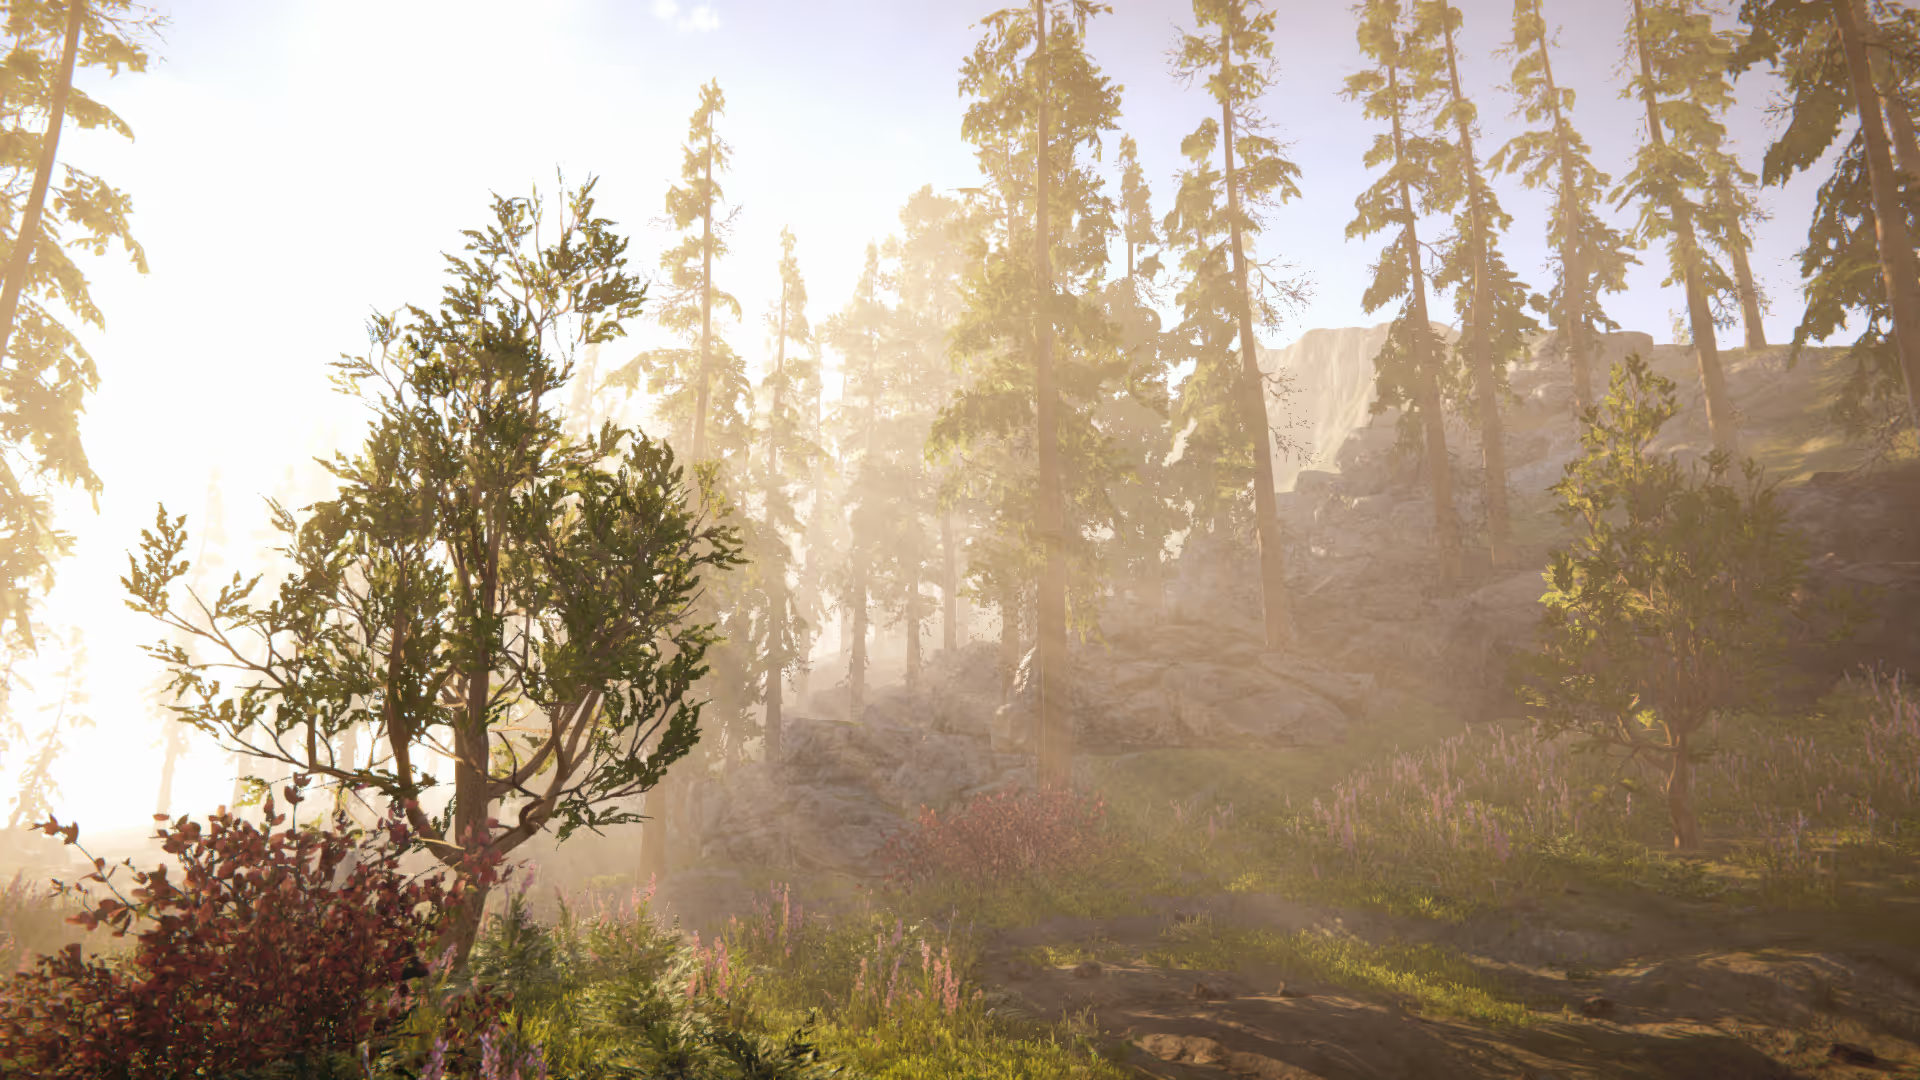
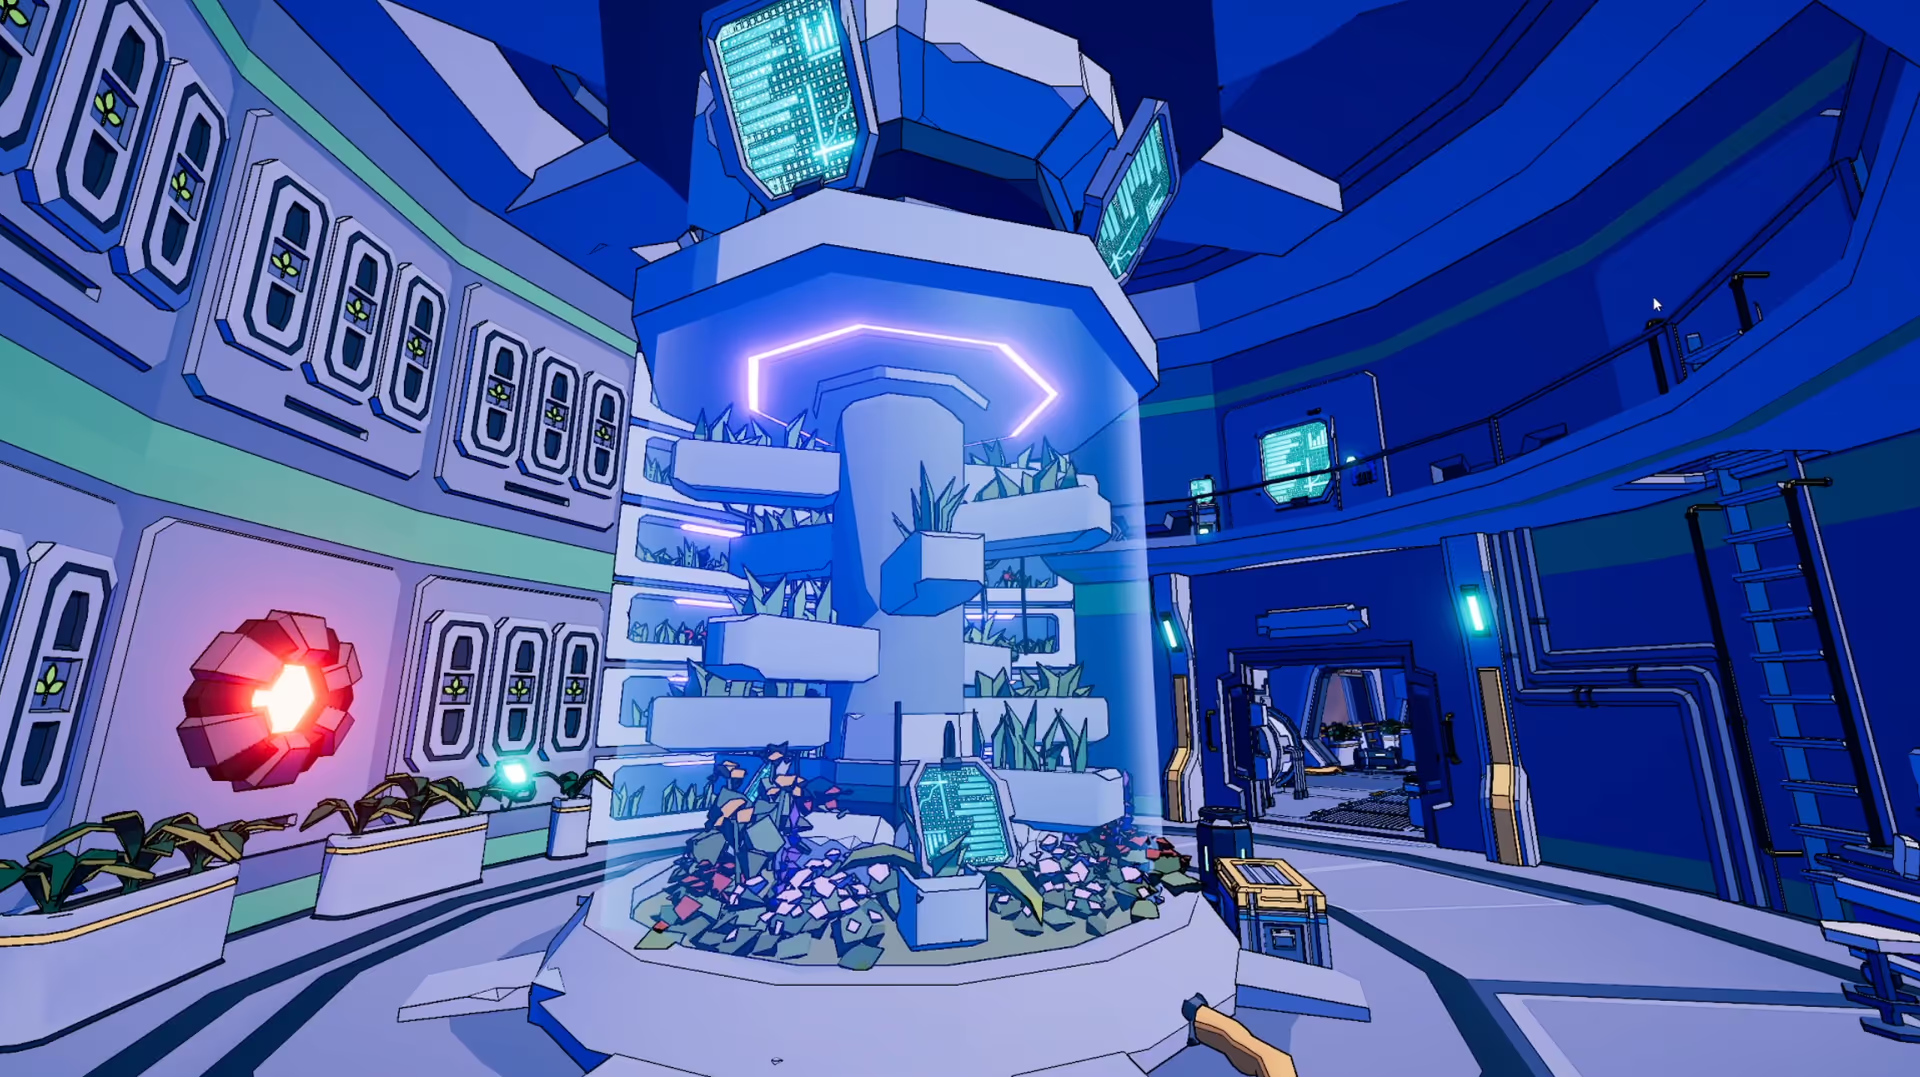
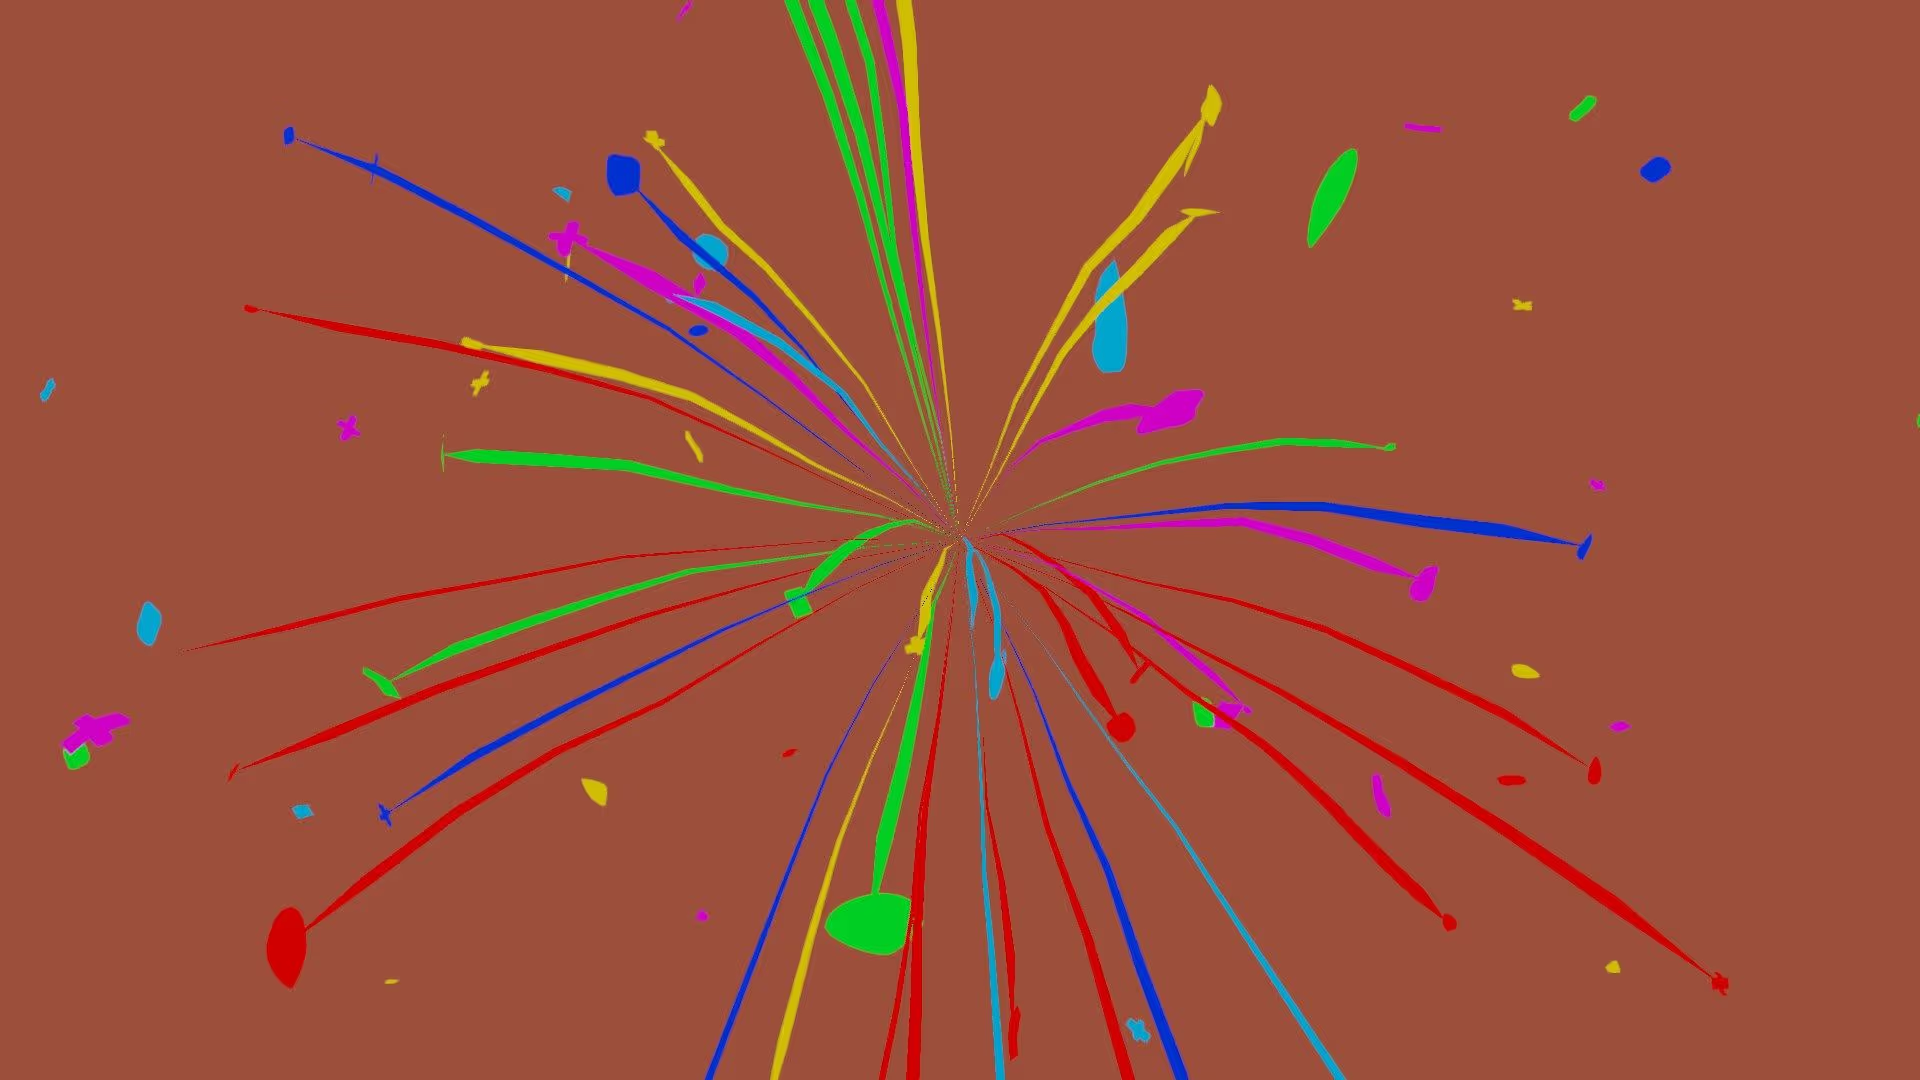
Unity is a powerful game engine that allows developers to create amazing 3D and 2D games and experiences. One of the most powerful features of Unity is the ability to create custom shaders using the Unity Shader Graph. In this article, we will go over the basics of the Unity Shader Graph and show you how to create some stunning visuals using it.
What is Unity Shader Graph?
Unity’s Shader Graph is a visual tool for creating shaders in Unity. It allows you to create shaders without writing a single line of code. This makes it a great tool for both beginners and experienced developers. The Unity Shader Graph uses a node-based system where you connect different nodes together to create a shader. Each node represents a different operation, such as blending two textures together or adding a color to a surface.
More about the Unity Shader Graph
You can use Shader Graph with the High Definition Render Pipeline (HDRP) or the Universal Render Pipeline (URP) in Unity version 2018.1 and later. As of Unity version 2021.2, Shader Graph can also be used with the Built-In Render Pipeline, but it’s recommended to use it with the Scriptable Render Pipelines as it doesn’t receive updates for Built-In Render Pipeline support. Shader Graph package is automatically installed when you install HDRP or URP in your project. To use it with the Built-In Render Pipeline, you can manually install it using the Package Manager in Unity version 2021.2 and later.
Getting Started with Unity Shader Graph
As an experienced Unity game developer, I know that creating a new Shader Graph Asset is an important step in creating visually stunning and unique materials for your game. After configuring a Scriptable Render Pipeline (SRP), such as the Universal Render Pipeline (URP) or High Definition Render Pipeline (HDRP), you can create a new Shader Graph Asset by right-clicking the Project window, selecting Create > Shader Graph from the context menu, and then choosing your desired type of Shader Graph.
The types of Shader Graph available to you will depend on the render pipelines present in your project. The options available to you may vary depending on the render pipelines you have installed. Some options that are always available include a Blank Shader Graph, a Sub Graph, and options for each installed render pipeline, such as template stacks for standard shading models like Lit or Unlit.
For a full list of options available to you, I recommend checking the documentation for the Universal Render Pipeline and High Definition Render Pipeline. In this example, we will be creating a Universal Lit Shader Graph.
Once you have created your new Shader Graph Asset, you can double-click it to open it in the Shader Graph window. The Shader Graph window consists of several key areas, including the Master Stack, the Preview Window, the Blackboard, and the Graph Inspector.
The Master Stack is the final connection that determines your shader output and is where you will spend most of your time creating and editing your shader. The Preview Window allows you to preview the current shader output, rotate the object, and zoom in and out. The Blackboard contains all of the shader’s properties in a single, collected view, and is where you can add, remove, rename, and reorder properties.
Once you’ve set up your project and become familiar with the Shader Graph window, I recommend reading up on My first Shader Graph for more information on how to get started creating your own unique shaders.
Finally, the Internal Inspector is an area that contains information contextual to whatever the user is currently clicking on. This window is hidden by default and only appears when something is selected that can be edited by the user. Use the Internal Inspector to display and modify properties, node options, and the graph settings.
Creating a Simple Shader
To create a simple shader, you will need to start by adding a few nodes to the Shader Graph. The first node you will need to add is the "Master Node". The Master Node is the starting point of your shader and determines the overall output of your shader. Once you have added the Master Node, you can then add other nodes, such as a “Diffuse” node, which will add a basic diffuse lighting to your shader.
Once you have added all of your nodes, you will then need to connect them together. This is done by clicking on the output of one node and dragging it to the input of another node. For example, if you want to add a texture to your shader, you would connect the output of the “Texture2D” node to the input of the “Diffuse” node.
Adding Advanced Features
Once you have a basic understanding of how to create a simple shader, you can then start adding more advanced features. One of the most popular advanced features is the use of normal maps. Normal maps are used to add more detail to a surface without adding more polygons. To add a normal map to your shader, you will first need to add a “Normal Map” node and then connect it to the “Normal” input of the "Master Node".
Another popular advanced feature is the use of reflections. Reflections add a sense of realism to your shader by reflecting the environment around the object. To add reflections to your shader, you will need to add a “Reflection” node and then connect it to the “Reflection” input of the "Master Node".
Conclusion
The Unity Shader Graph is a powerful tool that allows you to create stunning visuals in Unity. It is a great tool for both beginners and experienced developers, as it allows you to create shaders without writing a single line of code. With the Unity Shader Graph, you can create advanced features such as normal maps and reflections, and you can also create custom shaders that are tailored to your specific needs. So, if you’re ready to take your Unity projects to the next level, check out Shader Graph.