Creating a Skybox in Unity: A Comprehensive Guide
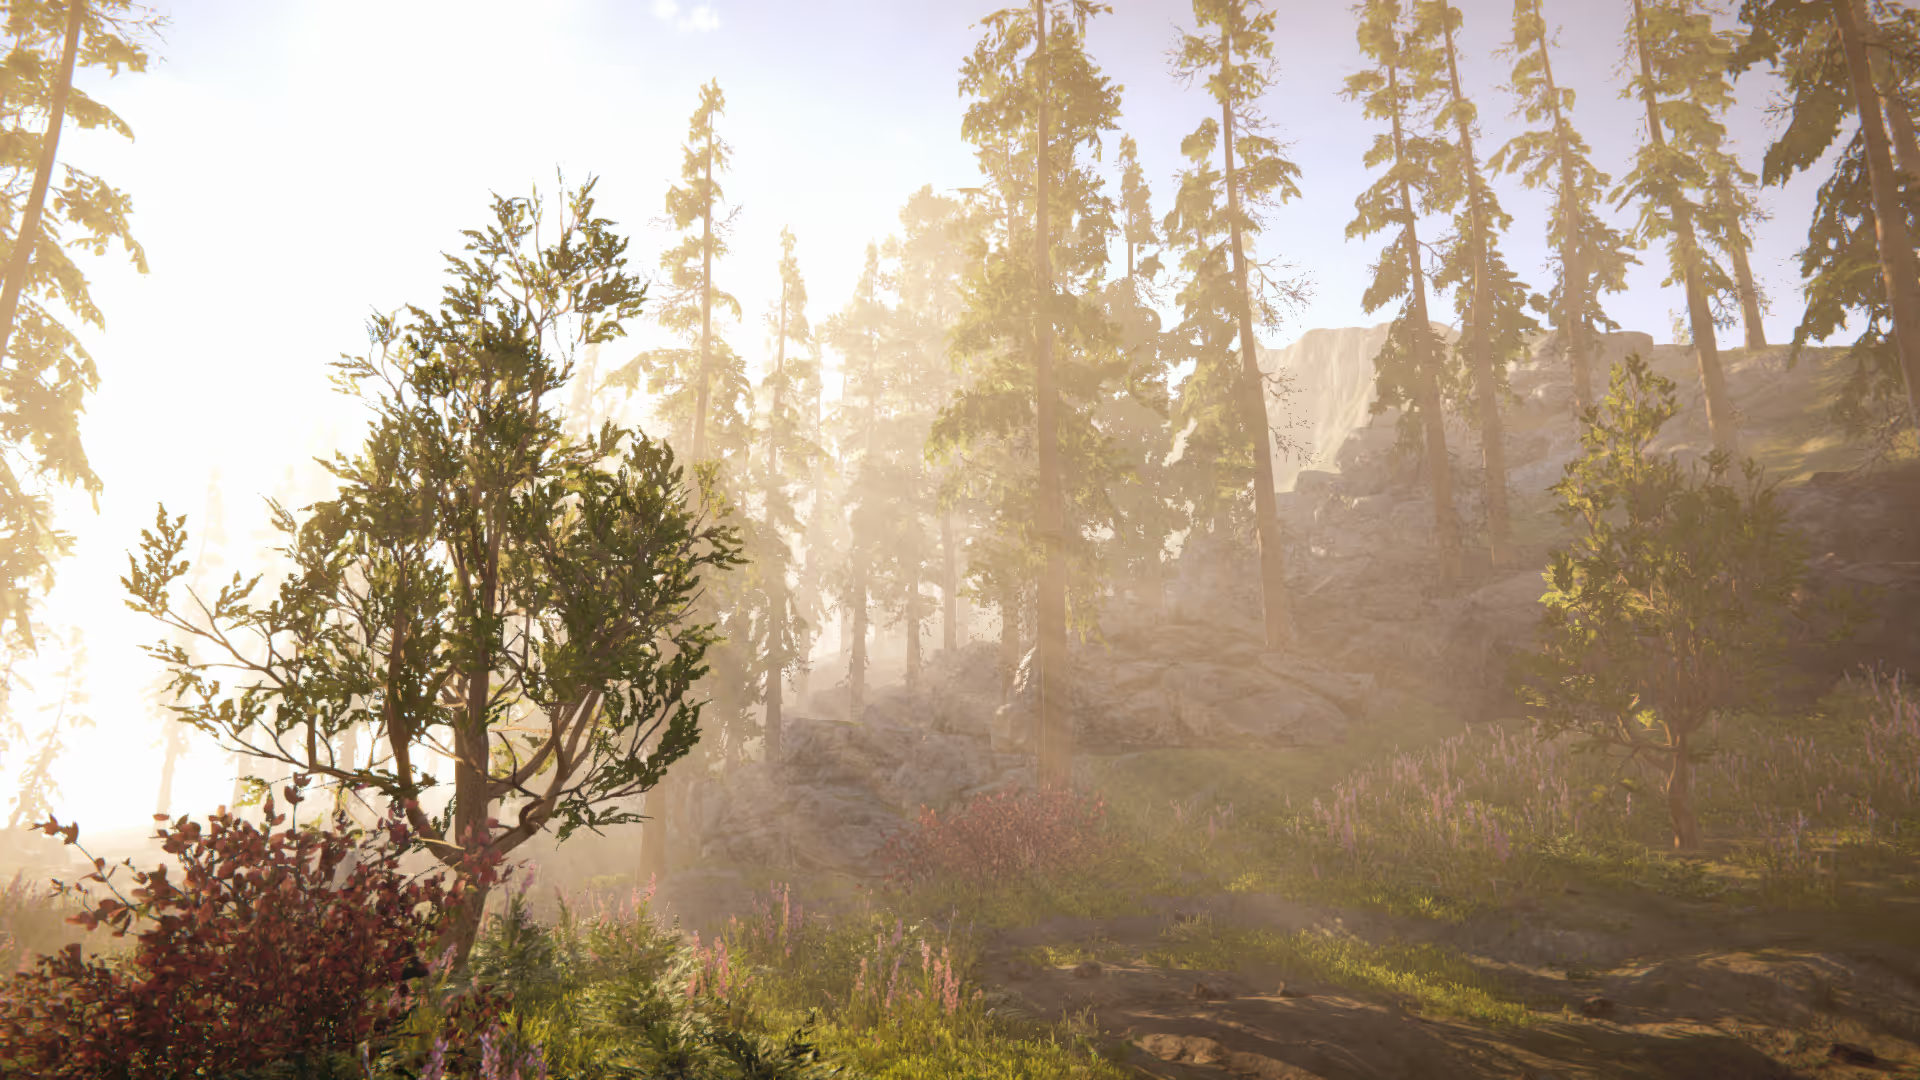
In this article, we will be discussing the process of creating a skybox in Unity, a popular game engine used for developing both 2D and 3D games. A skybox is a technique used in computer graphics to create an illusion of a vast surrounding environment, often used as a background for a scene in a game or other 3D application.
Understanding the Concept of a Skybox
A skybox is a 3D environment that surrounds the camera, creating an illusion of an open world. It is typically used as a background for a scene, providing a sense of depth and realism to the environment. The skybox is typically rendered as a cube, with each face of the cube representing a different view of the environment.
Creating a Skybox in Unity
The process of creating a skybox in Unity is relatively straightforward. First, you will need to create a new Skybox material and assign it to the Skybox Material slot of your Lighting Environment. Next, you will need to find and download a Skybox texture, import it to you project, and assign it to the Skybox material. Finally, you will need to configure your Skybox’s settings.
Creating a Material
To create a new material, you will need to right-click in the “Project” window and select “Create” and then “Material.” Once the material is created, you can set the appropriate shader for the material by clicking on the material in the “Inspector” window, selecting the “Shader” dropdown, and selecting one of the shaders in the “Skybox” category. To follow along with this tutorial, you should click on the “Panoramic” option.
Choose the Panoramic Skybox shader from the shaders included with Unity.
Adding the Skybox to the Scene
To add the skybox to your scene, you will need to go to the “Window” menu and select “Lighting.” In the “Lighting” window, you will need to select the “Environment” tab and then click on the “Skybox Material” option. From here, you can select the material that you just created and drag it into the “Skybox Material” field.
Add the Skybox material that you have just created to the Skybox Material field in the Lighting window.
If you’ve followed along so far, your scene should have a flat, grey skybox - yuck. In the next step, we will download a free skybox texture and then apply it in our scene.
Our Skybox still needs a texture. So, we will download a free skybox texture, import it, and apply it.
Downloading a free HDRI (Skybox Texture)
Next, you will need to add a skybox texture to your skybox material. This can be done by finding a skybox texture that you like and downloading it from the Unity Asset Store or from a website that provides HDRIs (High Dynamic Range Images). I like to use Polyhaven, a library of high-quality 3D assets for visual effects artists and game designers.
To follow along with this tutorial, click here to open the download page for the Wasteland Clouds skybox texture. When you open the page, make sure to choose the resolution you want to download, set the file format to .HDR, and then download the file.
Choose the correct settings to download the Skybox texture from Polyhaven.
Importing the free Skybox texture to Unity
Once the skybox texture has finished downloading, you need to import it into Unity. To import the texture, you can drag it into your Unity project from your file explorer. Then, configure the import settings. One important setting to change is the “Generate Mip Maps” option. If you leave “Generate Mip Maps” enabled, your Skybox will have an ugly seam where the skybox wraps. To disable "Generate Mip Maps", you need to open the Import Settings of the Wastelands skybox texture, click the toggle next to "Generate Mip Maps", then click "Apply".
Uncheck “Generate Mip Maps” to ensure that you skybox texture looks good in your scene.
Applying the Skybox Texture to your Skybox Material
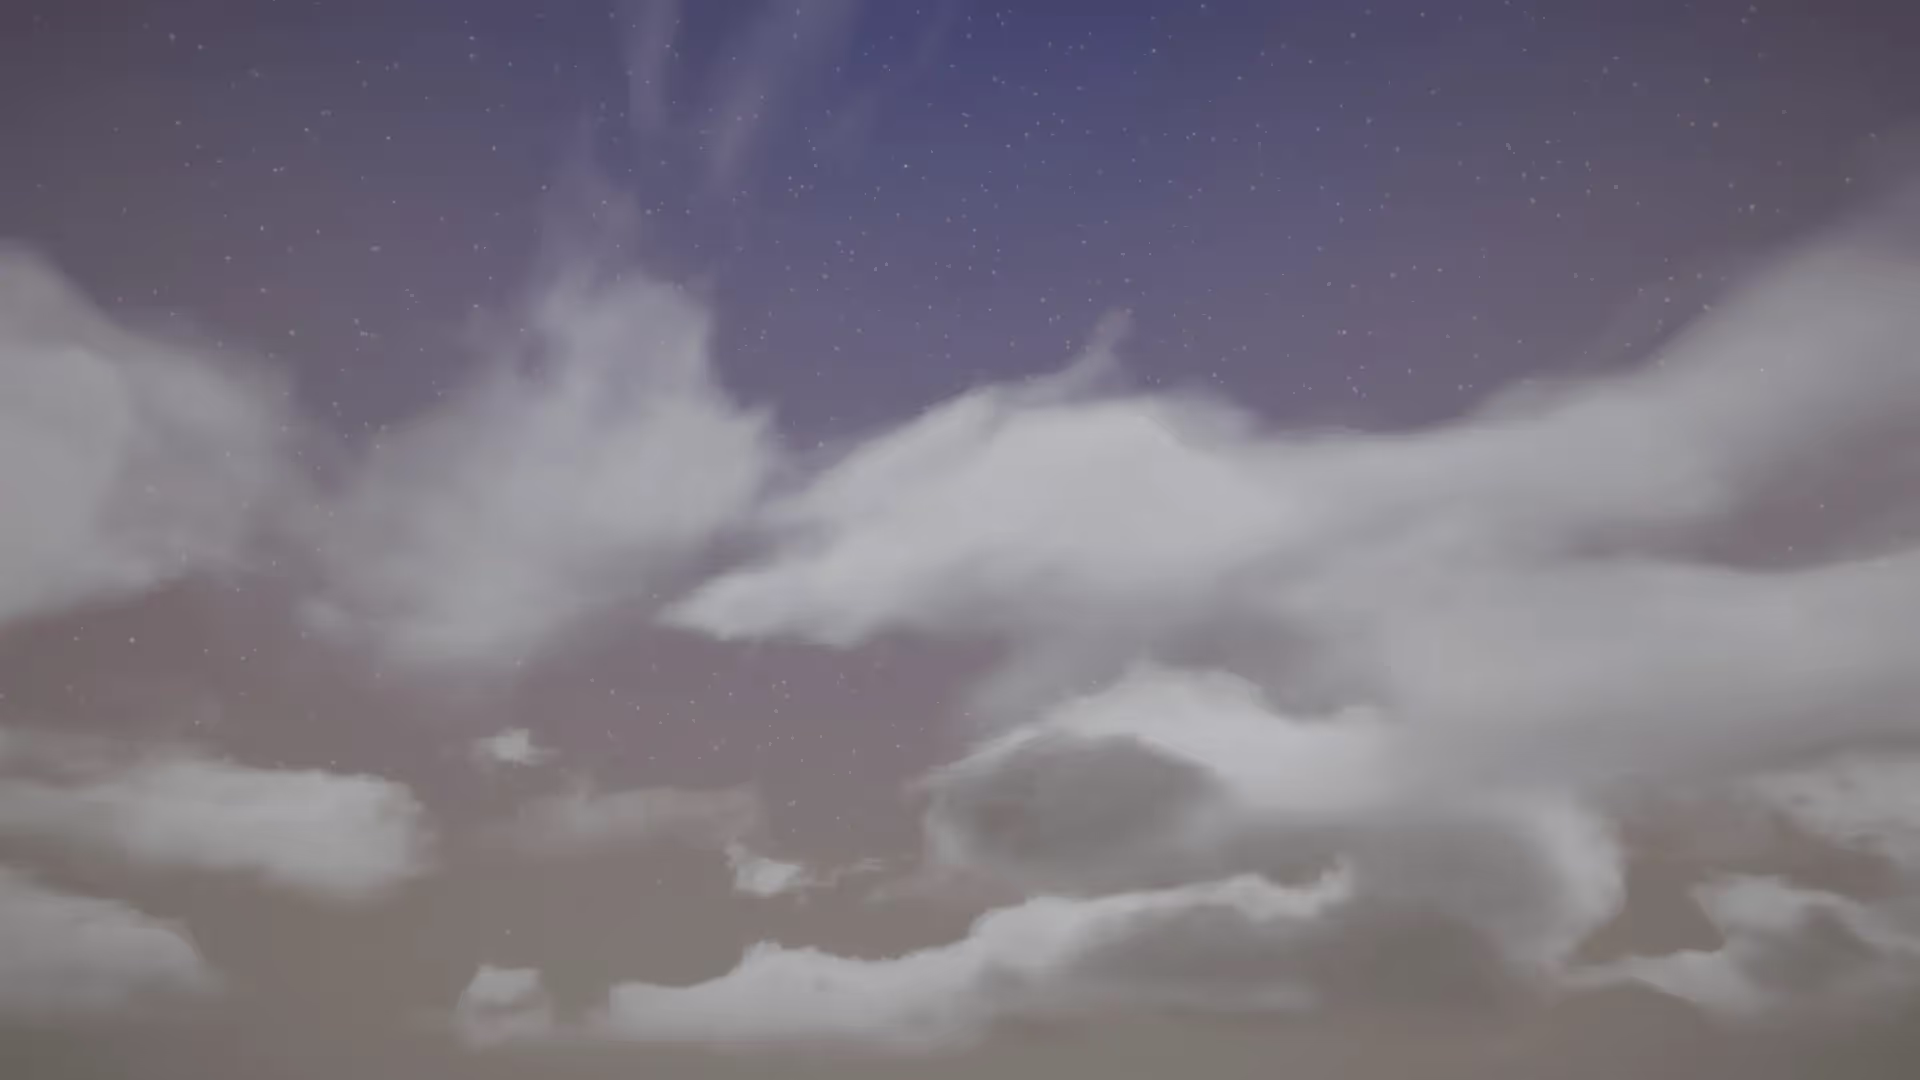
We’re almost done! You just need to apply your skybox texture to the material we had created earlier. First, open our Skybox Material so that you can see it in the “Inspector” window. Next, drag and drop our Skybox texture into the Spherical (HDR) texture slot in the “Inspector” window. Your scene should now correctly render the Skybox texture. However, the skybox may be too bright. If you’re following along with our tutorial, you can see that the Wastelands skybox is really bright! Next, we will use the Skybox Settings to configure our skybox so that it looks just right.
We’ve assigned our Skybox texture to our Skybox material. Great work!
Configuring the Skybox Settings
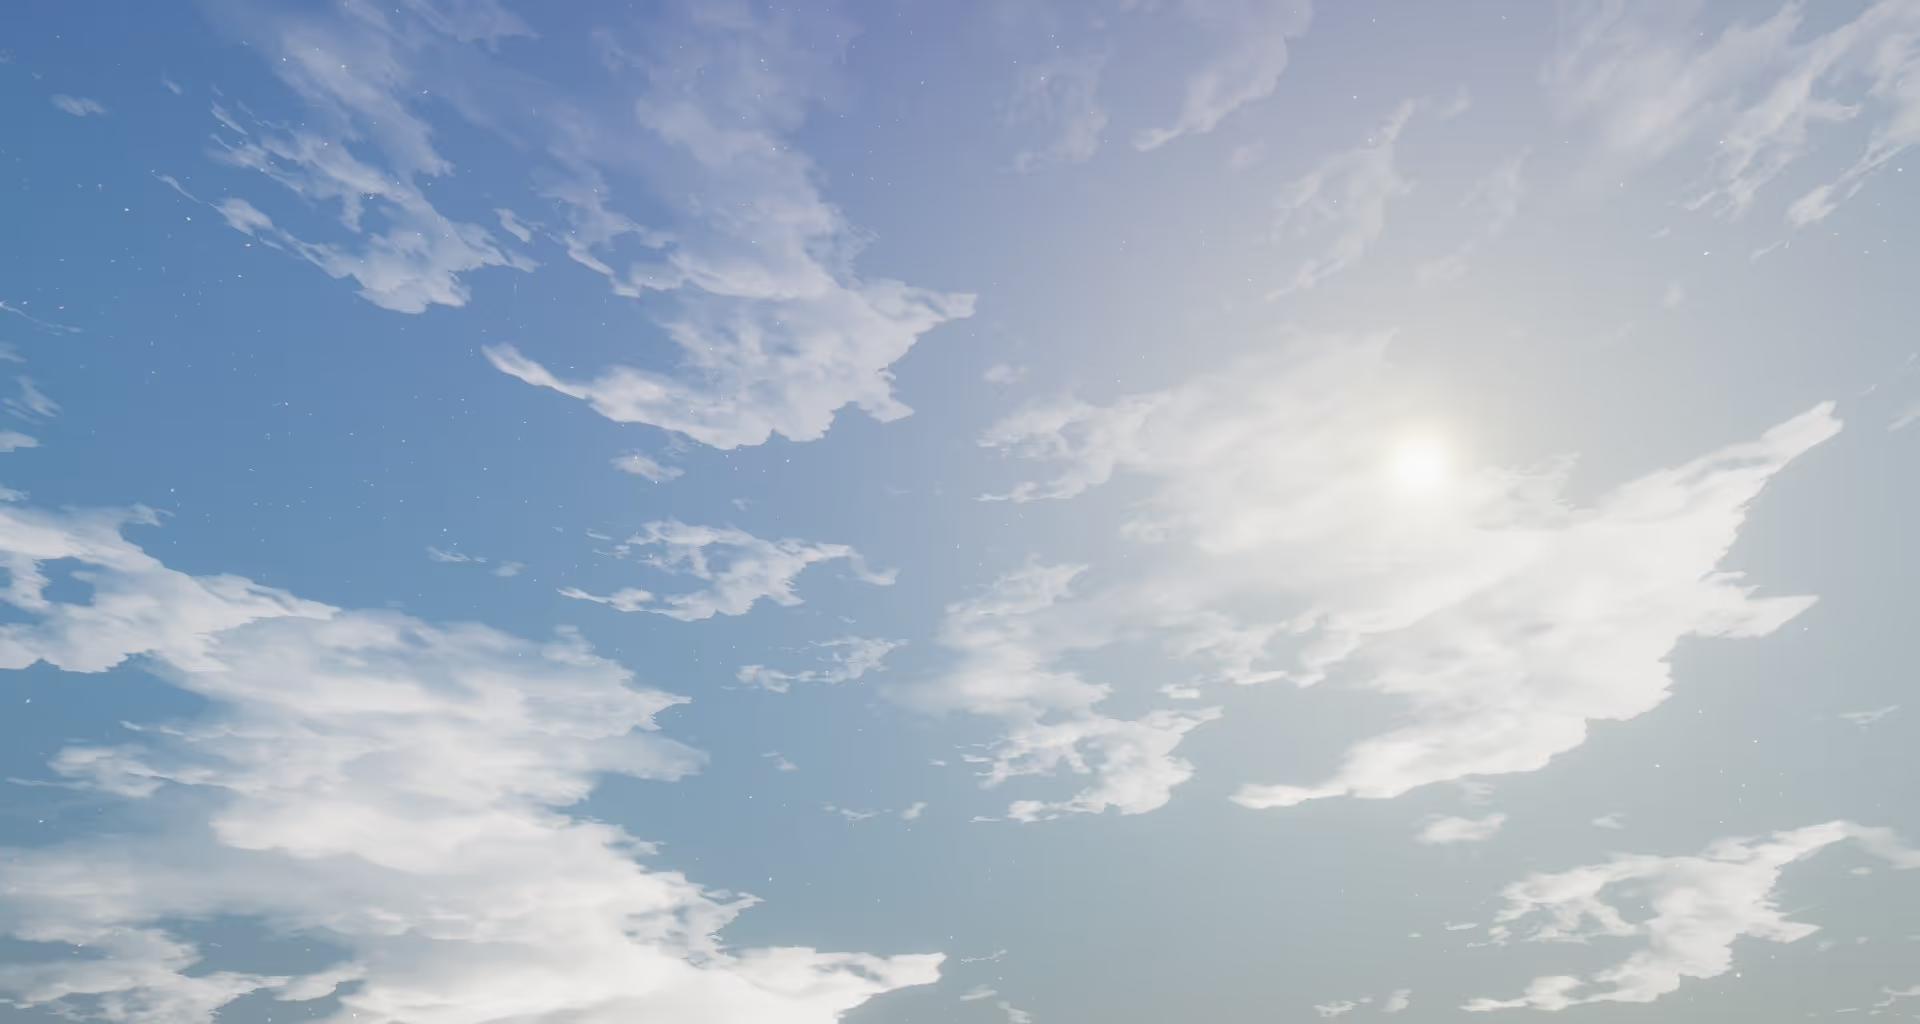
Finally, you will need to configure the settings for the skybox. This can be done by clicking on the Skybox Material you have created and opening the “Inspector” window. In the “Inspector” window, you will observe the skybox has several settings you can configure. These settings include the "Exposure", "Tint Color", "Rotation", "Spherical (HDR)", "Mapping", "Image Type", and “3D Layout” options. To fix our skybox, I adjusted the “Exposure” from a value of 1 down to 0.5. To do the same, just click on the Exposure property and type in "0.5".
Configure your Skybox Exposure setting to 0.5.
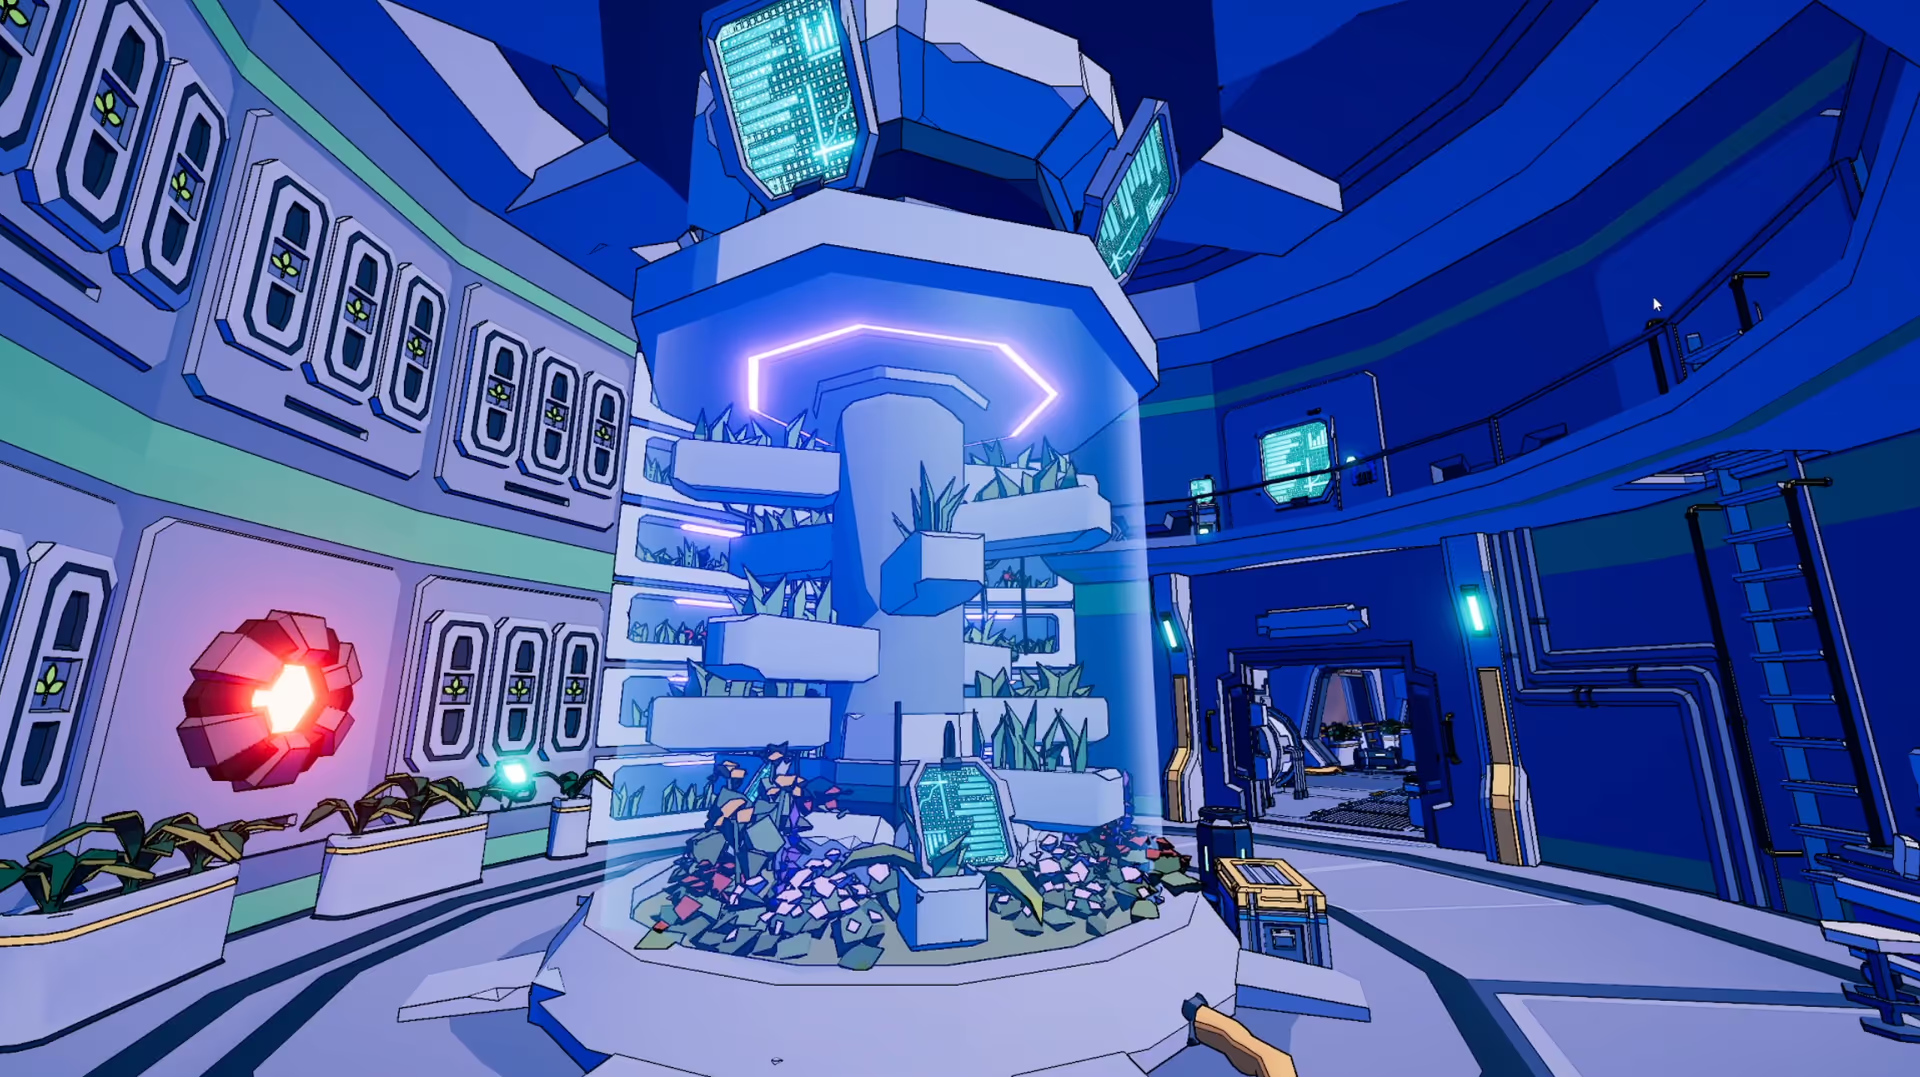
Upgrading to a Dynamic Skybox
You’ve now successfully set up a skybox in your scene. However, the sky is static: it has no day-night cycle, the clouds don’t move, and the sun is stuck in place. You can upgrade your skybox to a dynamic skybox using one of our assets for Unity such as Super Simple Skybox.
Conclusion
In this article, we have discussed the concept of a skybox in Unity and the steps required to create one. By following the steps outlined in this guide, you should be able to create a skybox that will add depth and realism to your Unity scene. As you gain more experience with Unity, you can create more advanced skyboxes using shaders, or you can purchase more advanced skybox systems from the Unity Asset Store.