Introduction to Game Assets for Unity
A game asset in Unity is a file or resource that is used in the development of a Unity game. Assets can be visual, auditory, or functional, and they are used to create the elements that make up a game, such as characters, environments, and interactive elements. In this article, we’ll cover common types of assets for Unity, how to import and manage these assets, how to use various types of assets in Unity, naming your assets for organization and ease of use, and optimizing your project.
Common types of Game Assets in Unity
Below, we’ll start by covering some common types of game assets used in Unity for game development.
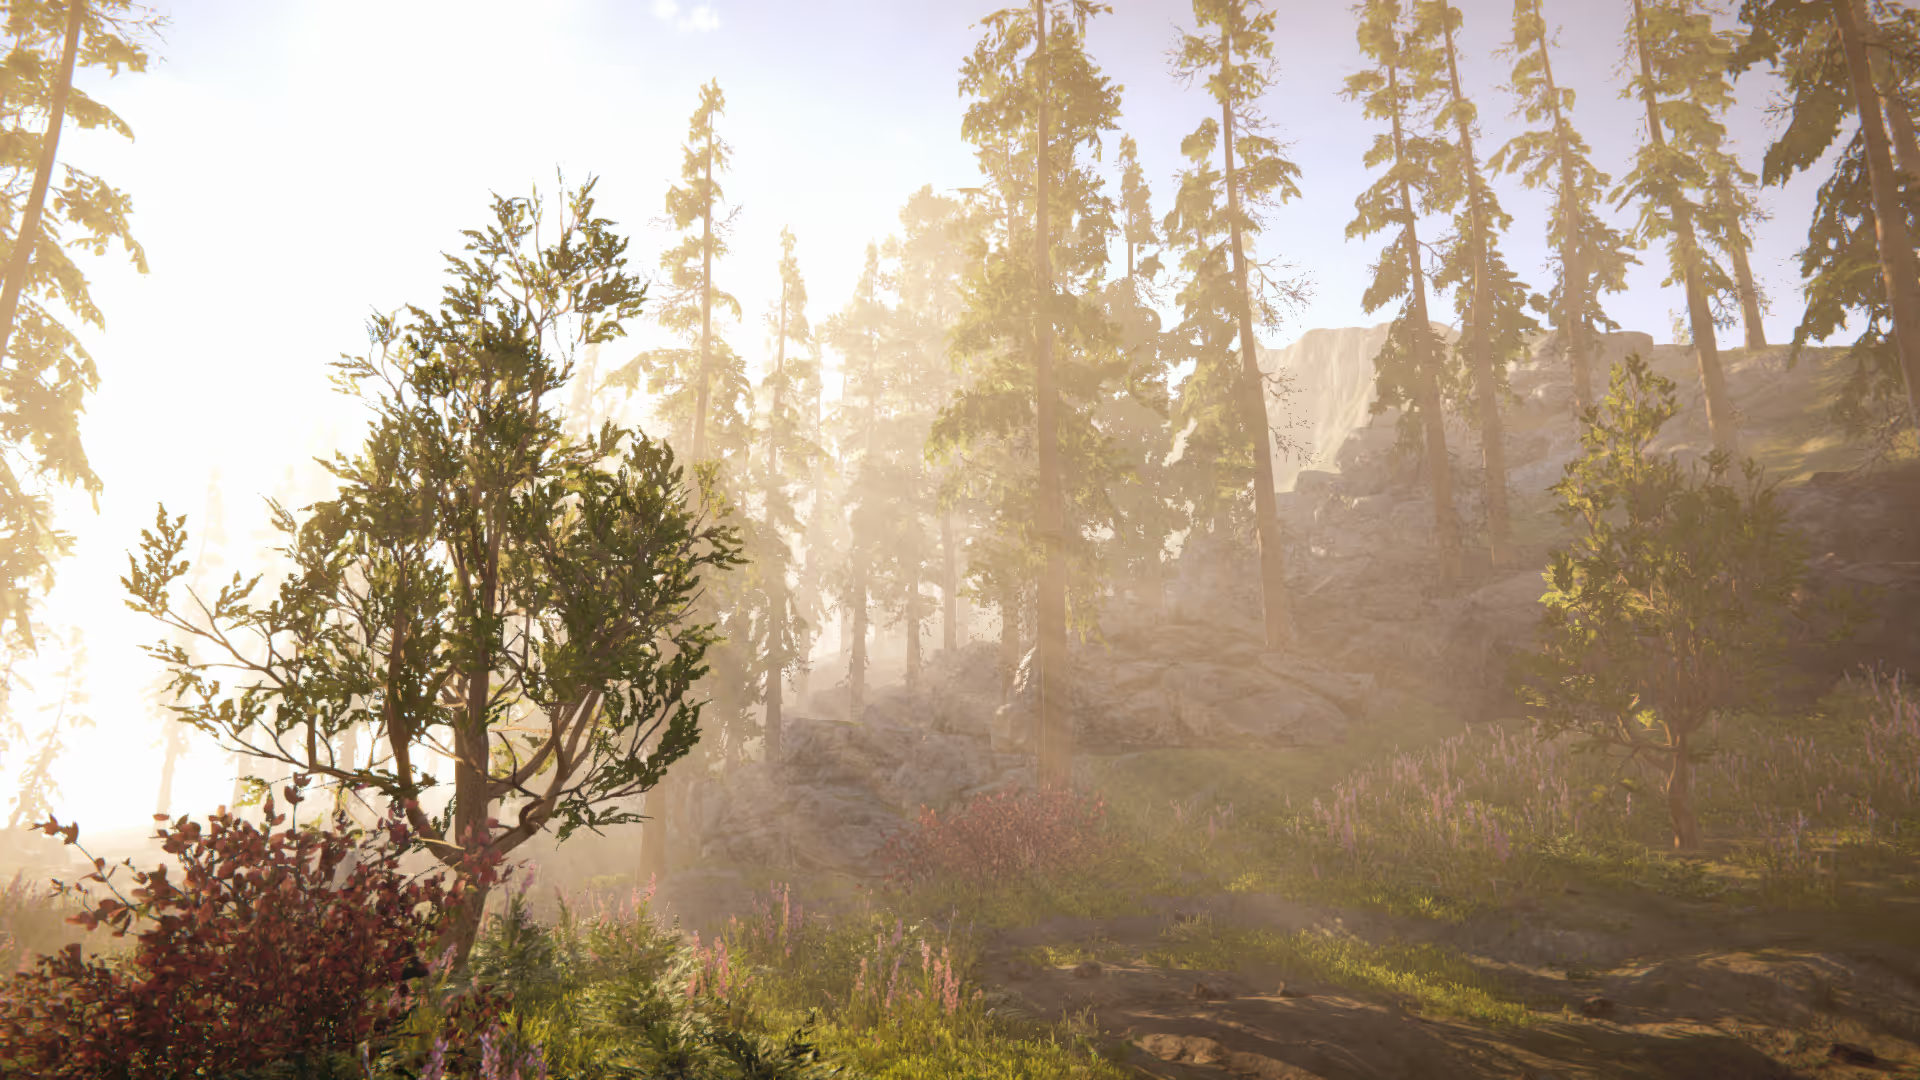
3D Models
3D Models are used to create the objects and characters that populate a game world. They can be created using 3D modeling software such as Blender or Maya and imported into Unity.
Textures
Textures are images that you apply to the surfaces of 3D models. These images give the surface detail and realism. Textures can be created using image editing software such as Photoshop or GIMP and imported into Unity.
Audio (Music and Sound Effects)
These provide sound effects and music for a game. They can be created using audio editing software such as Audacity and imported into Unity.
Scripts
These are used to define the behavior of objects in a game. Scripts in Unity are typically written in C#, but can also be created using Unity’s visual scripting tool, Bolt. These scripts are attached to Game Objects in your project to create and define functionality for that game object.
Visual Effects
A visual effect in Unity is a type of asset for Unity that is used to enhance the visual appeal of a game.
Visual effects can include things like particle systems, lighting effects, and post-processing effects. Below are additional details about each of these types of visual effects. At OccaSoftware, we specialize in the production of visual effects and shaders for Unity.
Particle effects are used to create particle-based effects such as rain, visual wind, and fire. Particle systems are created using the Particle System component and can be customized with various settings and modules.
Lighting effects can be used to create realistic or stylized lighting for your game project. Lighting effects can include things like shadows, reflections, and global illumination. Typically, lighting effects will need custom shaders or custom post-processing effects.
Post-processing effects are used to enhance the overall visual quality of a game. Post-processing effects can include things like depth of field, motion blur, and color grading.
Visual effects are an important part of game development and can be used to create a more immersive and visually appealing experience for players.
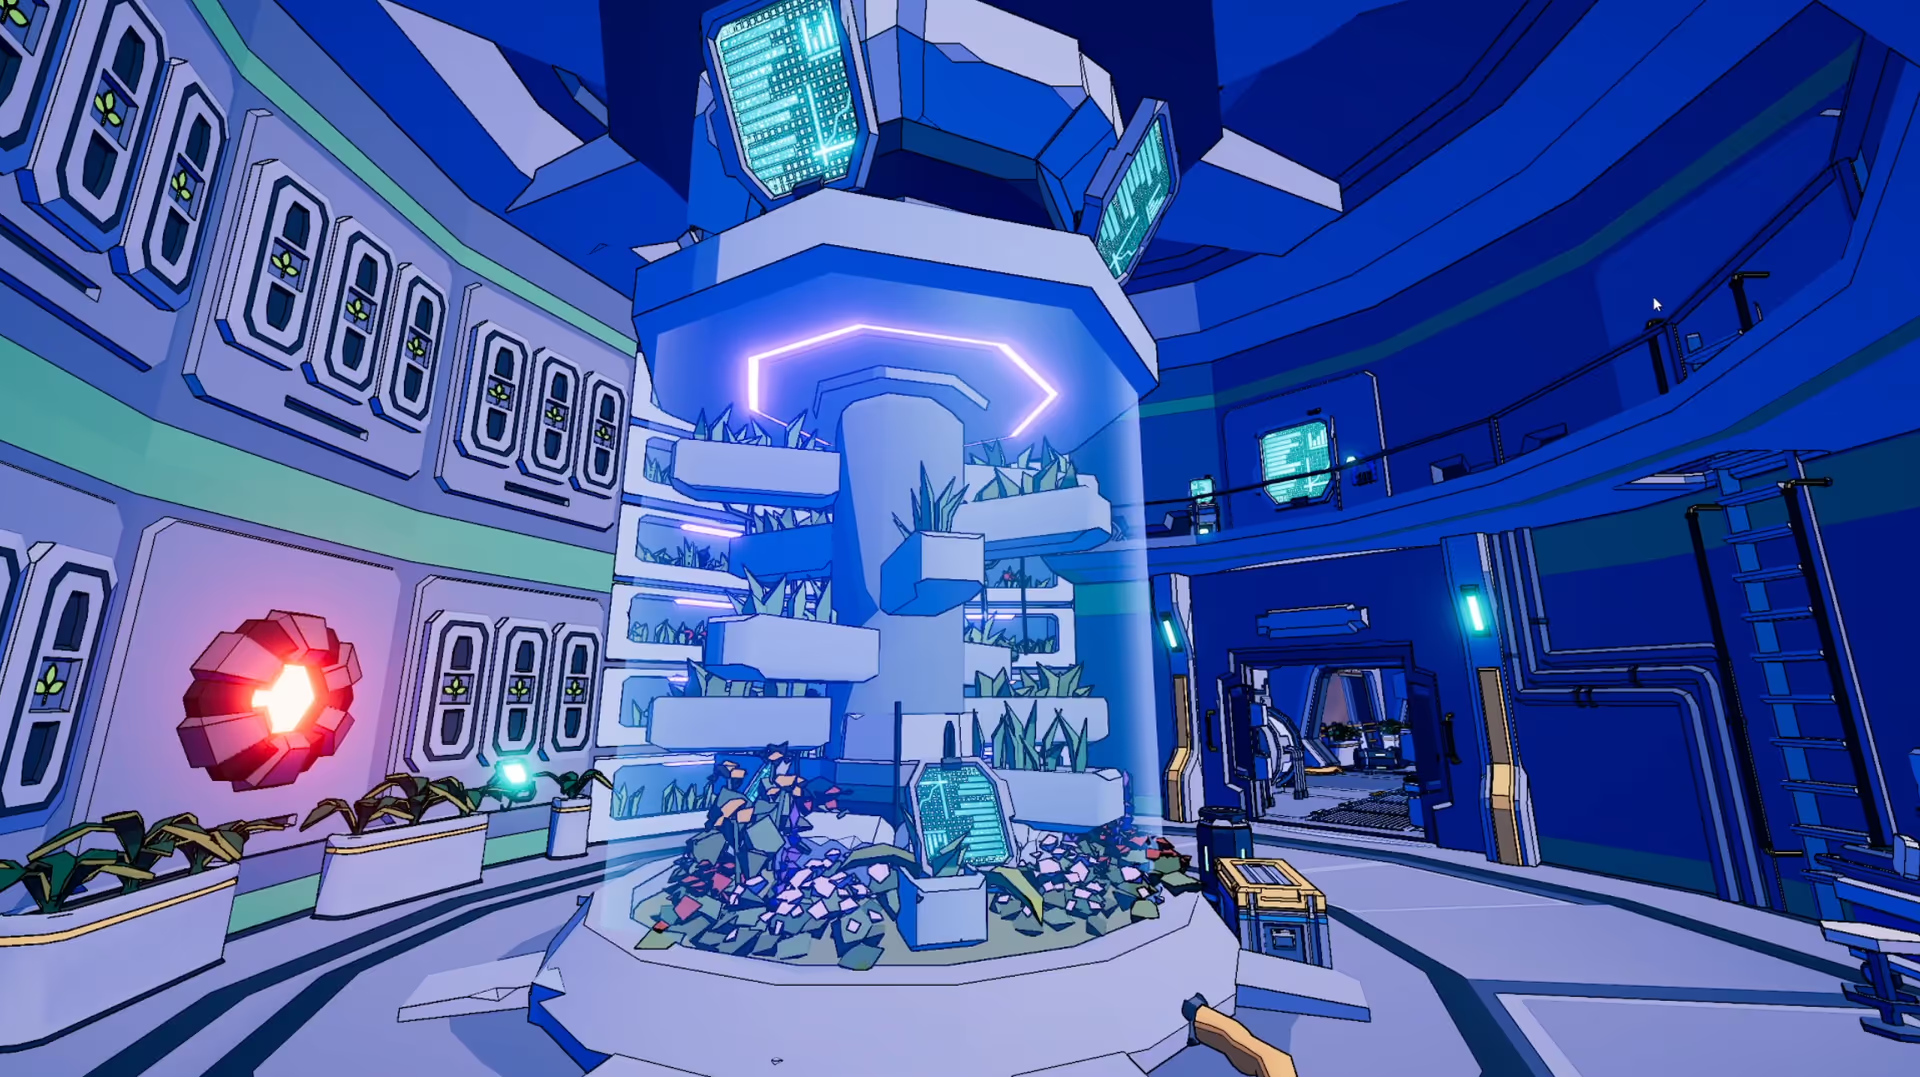
Shaders
A shader in Unity is a program that determines how a material should be rendered on a mesh. Shaders are written using a GPU programming language, typically HLSL or GLSL, or using a node-based editor like Shader Graph or Amplify Shader Editor. Each material uses a specific shader, and then the shader is executed on the GPU using the material properties, such as color, smoothness, and normal maps.
In Unity, shaders are used to define the visual appearance of objects in a game. For example, a shader might be used to make an object look metallic, or to make it transparent. Shaders can also be used to create visual effects such as reflections, refractions, and dynamic lighting.
Shaders are made up of as many as three stages, which are the vertex, geometry, and fragment stages. These stages define how Unity (and the GPU) should modify each vertex, create new geometry, and shade each pixel. These can apply to specific meshes within the scene or can apply to the entire screen.
Shaders are an important part of game development and are used to create a wide range of visual effects in Unity.
How to import assets to Unity
To import assets into Unity, follow these steps:
- Open your Unity project and navigate to the “Assets” folder in the Project window.
- Right-click on the “Assets” folder and select “Import New Asset” from the context menu.
- In the “Import Asset” window, browse to the location of the asset you want to import and select it.
- Click “Import” to import the asset into your Unity project.
- The asset will appear in the “Assets” folder in the Project window. You can then use it in your Unity project by dragging it into the scene or hierarchy, or by assigning it to a material or script.
Note that Unity has an asset pipeline that allows you to import and process various types of assets, such as 3D models, textures, audio files, and so on. When you import an asset, Unity will automatically apply any necessary processing and optimization to it, based on the asset’s type and the import settings you have specified. You can access the import settings for an asset by selecting it in the Project window and clicking the “Import Settings” button in the Inspector.
How to manage imported assets in Unity
You can use the Project window and the Inspector.
The Project window is where you can view and organize all of the assets in your Unity project. You will import assets to your Project.
You can access the Project window by selecting “Project” from the Window menu. In the Project window, you can view a list of all the assets in your project, as well as their file types and import settings. You can also create new folders and move assets around to organize them.
The Inspector is a window that displays the properties of an asset or object selected in the Scene or Hierarchy view. You can access the Inspector by selecting an asset or object in the Project window or Scene view and looking at the panel on the right side of the Unity editor.
In the Inspector, you can view and modify the properties of the selected asset or object, such as its name, transform, and material.
By using the Project window and the Inspector, you can effectively manage the assets in your Unity project and keep your project organized and efficient.
How to use Models in your Unity project
To use models in Unity, you can follow these steps:
- Import the model into your Unity project. See the “How to import assets to Unity” section above for more details.
- Drag the model from the Project window into the Scene view or Hierarchy. This will create a GameObject in the scene that represents the model.
- Adjust the model’s properties in the Inspector. You can use the Inspector to modify the model’s transform (position, rotation, and scale), as well as its material and other properties.
- Add any necessary scripts or components to the model. You can attach scripts or components to the model GameObject in order to define its behavior in the game. For example, you could add a script to make the model move or rotate, or you could add a collider component to make the model interact with other objects.
- Test the model in the scene. You can use the Play mode to test how the model behaves in the game. You can also use the Scene view to move, rotate, and scale the model to fine-tune its appearance and behavior.
Using models in Unity is a key part of game development and allows you to create the objects and characters that populate your game world.
How to use Textures in your Unity project
To use textures in Unity, you can follow these steps:
- Import the texture into your Unity project. See the “How to import assets to Unity” section above for more details.
- Create a material for the texture. A material is a surface property that defines how a texture should be rendered on a mesh. To create a material, right-click in the “Assets” folder and select “Create > Material” from the context menu. Then, drag the texture from the Project window into the “Albedo” field of the material in the Inspector.
- Apply the material to a mesh. To apply the material to a mesh, select the mesh GameObject in the Scene or Hierarchy view and drag the material from the Project window into the “Material” field of the Mesh Renderer component in the Inspector. The texture will now be applied to the mesh.
- Adjust the texture’s properties in the material. You can use the Inspector to modify the properties of the material, such as its base color, roughness, and alpha (transparency). You can also use the material to apply other textures, such as a normal map, to the mesh.
Using textures in Unity is a key part of game development and allows you to add visual detail and realism to your models. Using textures in combination with custom shaders allows you to create stylized, custom lighting and visual results that help your game stand out from the crowd.
How to use Shaders in your Unity project
To use shaders in Unity, you can follow these steps:
- Import the shader into your Unity project. See the “How to import assets to Unity” section above for more details.
- Create a material for the shader. A material is a surface property that defines how a shader should be rendered on a mesh. To create a material, right-click in the “Assets” folder and select “Create > Material” from the context menu. Then, drag the shader from the Project window onto the newly-created Material asset in the Project view to assign the shader.
- Apply the material to a mesh. To apply the material to a mesh, select the mesh GameObject in the Scene or Hierarchy view and drag the material from the Project window into the “Material” field of the Mesh Renderer component in the Inspector. The shader will now be applied to the mesh.
- Adjust the shader’s properties in the material. You can use the Inspector to modify the properties of the material, such as its color and reflectivity. You can also use the material to pass additional information to the shader, such as a texture or a light source.
Using shaders in Unity is a key part of game development and allows you to create a wide range of visual effects. By creating and applying shaders to meshes, you can define the appearance and behavior of surfaces in your game.
How to name your game assets in your Unity project
It is generally a good practice to give your game assets descriptive and meaningful names in your Unity project. This can help you and other members of your team to identify and locate assets more easily, and it can also help to keep your project organized and efficient.
Use clear and concise names
Avoid using long or vague names that might be difficult to understand. Instead, use names that clearly describe the purpose or function of the asset.
Use consistent naming conventions
Establish a set of naming conventions that you can use consistently throughout your project. For example, you might use CamelCase for script files, or you might use underscores to separate words in texture names.
Use prefixes or suffixes to indicate the type of asset
You can use prefixes or suffixes to indicate the type of an asset, such as “tex_” or “T_” for textures or “snd_” or “S_” for audio files. This can help you to easily distinguish between different types of assets in the Project window.
Use descriptive names for folders
When organizing your assets into folders, give the folders descriptive names that reflect their contents. For example, you might use “Models” for 3D models, “Shaders” for shader assets, or “Textures” for texture assets.
How to optimize your game assets
There are a number of techniques you can use to optimize assets in Unity in order to improve the performance of your game. Here are a few tips for optimizing assets:
Reduce the number of polygons in 3D models
3D models with a high number of polygons can be resource-intensive and can negatively impact performance. You can reduce the number of polygons in a model by simplifying the geometry or through techniques such as mesh optimization and decimation.
Compress your textures and audio files
Textures can take up a lot of memory and can impact performance, especially on lower-end devices. You can reduce the size of textures by using compression techniques, such as DXT or ETC compression for textures, or Ogg Vorbis compression for audio files.
Audio files can also take up a lot of memory and can impact performance. You can optimize audio files by using compressed formats, and by using tools such as the Audio Import Settings in Unity to reduce the sample rate and bit depth of the audio.
Test and profile
It is important to test and profile your game in order to identify potential performance issues and determine which assets are causing the most impact. You can use tools such as the Unity Profiler to identify bottlenecks and optimize your assets accordingly.
The Unity Profiler is a tool that allows you to monitor and analyze the performance of your Unity game. It provides detailed information about how much CPU, GPU, and memory resources your game is using.
To use the Unity Profiler, follow these steps:
- Open the Unity Profiler: You can access the Unity Profiler by selecting “Profiler” from the Window menu.
- Start profiling: Once the Profiler is connected to your game, click the “Play” button in the Profiler window to start profiling. The Profiler will begin collecting data about your game’s performance.
- Analyze the data: The Profiler displays a variety of data about your game’s performance, including CPU usage, GPU usage, and memory usage. You can use this data to identify performance bottlenecks and optimize your game accordingly.
By using the Unity Profiler, you can gain valuable insights into the performance of your Unity game and optimize it for the best possible experience for players.
Conclusion
In Unity, a game asset is a file or resource that is used in the development of a game. Assets can be visual, auditory, or functional and are used to create the elements that make up a game, such as characters, environments, and interactive elements.
Common types of game assets in Unity include 3D models, textures, audio files, scripts, visual effects, and shaders.
To import assets into Unity, you can use the “Import New Asset” option in the “Assets” folder of the Project window or drag and drop the asset into the Project window. It is important to manage your assets effectively by organizing them into folders and using descriptive and meaningful names. You can also optimize your assets to improve the performance of your game.
Additional Resources
There are many resources available for learning more about using game assets in Unity, including online tutorials, video courses, and documentation. Here are a few options to consider:
- The Unity manual: The Unity manual is a comprehensive guide to using Unity and includes detailed information about using game assets in Unity. You can access the manual by selecting “Manual” from the Help menu in the Unity editor.
- The Unity Learn platform: The Unity Learn platform is a collection of tutorials, courses, and projects designed to help you learn Unity. It includes a variety of resources on using game assets in Unity, including tutorials on importing and organizing assets, applying textures to models, and optimizing assets for performance.
- The Unity Asset Store: The Unity Asset Store is a marketplace where you can find a wide variety of game assets, including 3D models, textures, audio files, and more. You can browse the Asset Store from within the Unity editor or online, and you can purchase and download assets to use in your Unity project.
- Online tutorials and communities: There are many online tutorials and communities that offer guidance and support for using game assets in Unity. You can find tutorials and resources on websites such as YouTube, Reddit, and the Unity forums.
By using these resources, you can learn more about using game assets in Unity and improve your skills as a game developer.