.jpg)
Introduction
Are you ready to take your Unity game to the next level with custom shaders? Look no further!
Shaders are a powerful tool in Unity’s Universal Render Pipeline (URP) that let you manipulate and customize the way objects are rendered in your scene. With shaders, you can change object colors, reflections, lighting, and other visual properties to create a wide range of effects and styles.
Shaders can also be used to create special effects like surface deformations, reflections, and refractions that add realism and immersion to your game.
In this article, we’ll dive into the basics of shaders and give you a step-by-step guide on how to create your own in Unity URP.
Whether you’re a beginner or an experienced developer, this guide will give you the skills and knowledge you need to start using shaders in your projects.
So, let’s get started and see what amazing things you can create with shaders in Unity!
What are shaders
Shaders are tiny programs that run on your GPU (Graphics Processing Unit) and change the way objects look in your scene.
They’re written in programming languages like GLSL (OpenGL Shading Language) or HLSL (DirectX High Level Shading Language) that are specifically made for writing shaders.
This lets you control how the GPU processes and renders graphics.
In Unity, shaders are a crucial part of the Universal Render Pipeline (URP) because they let you customize how objects are rendered.
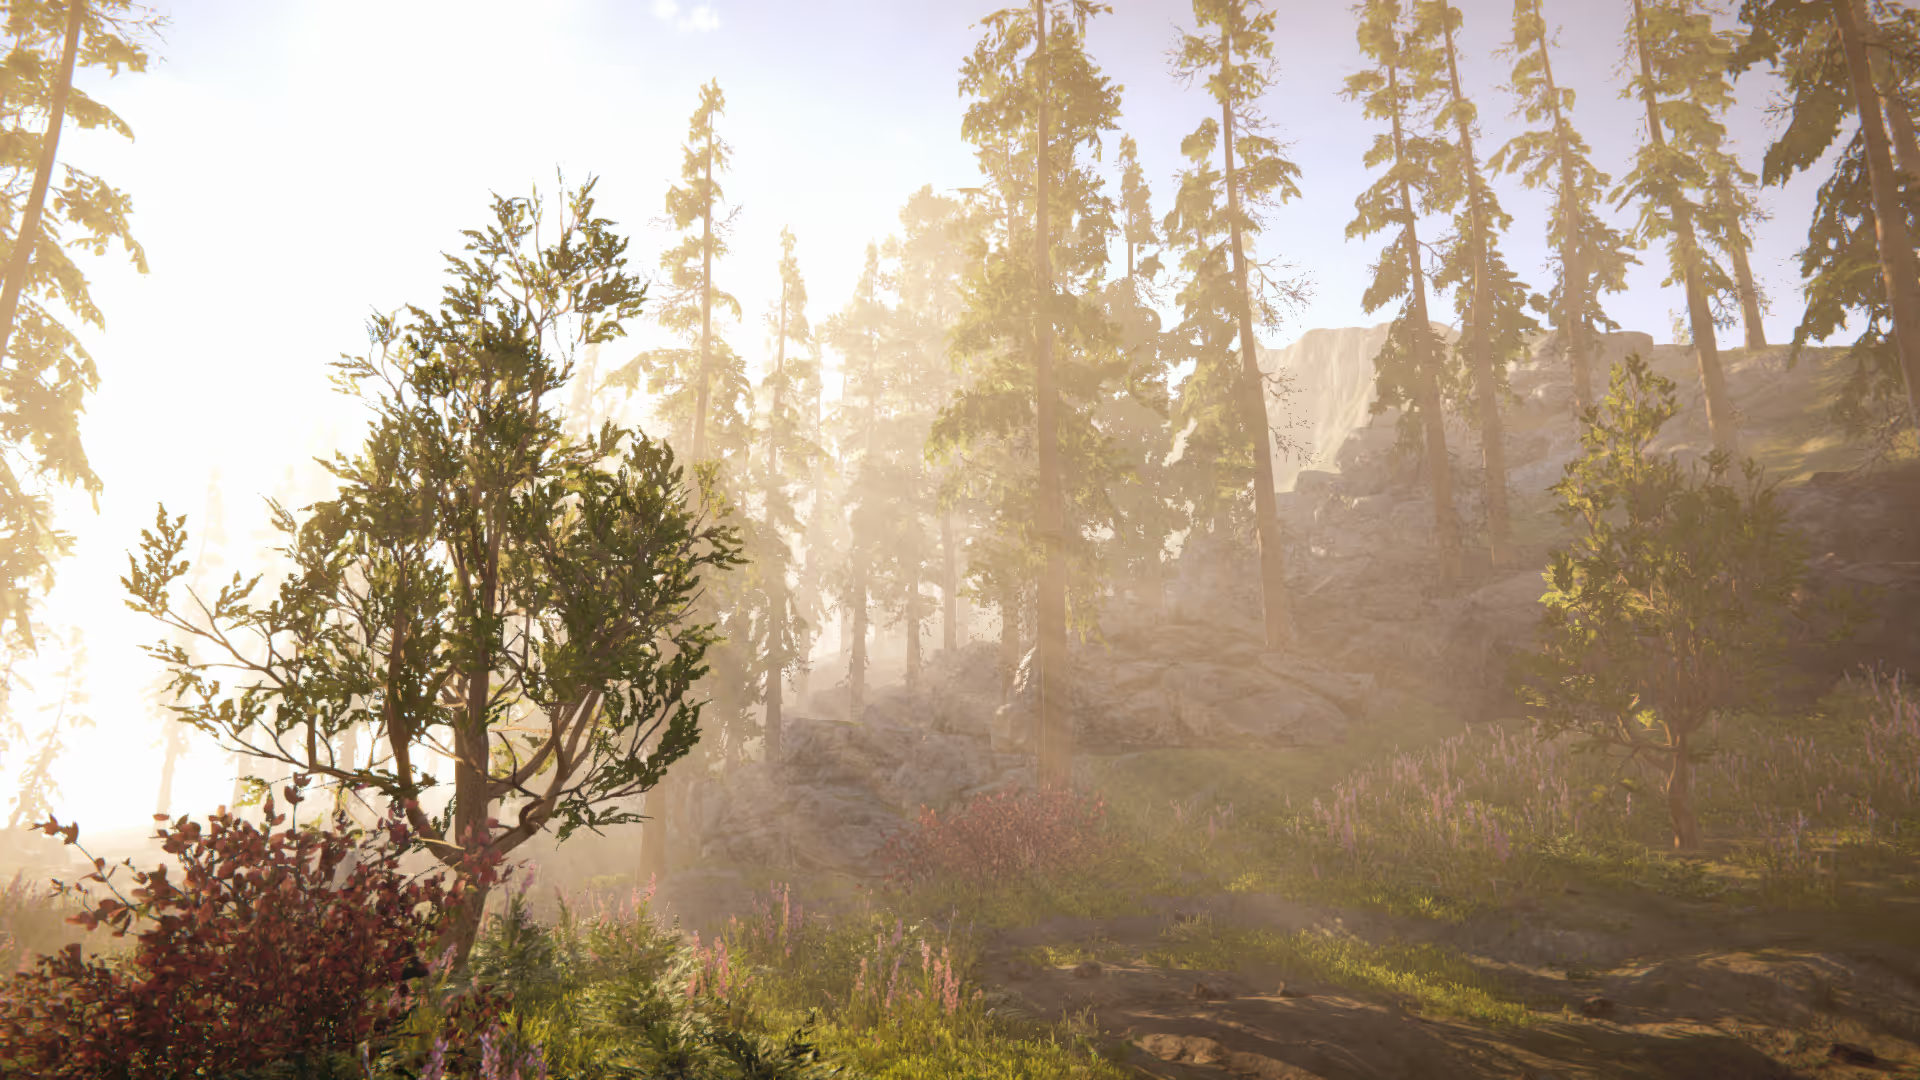
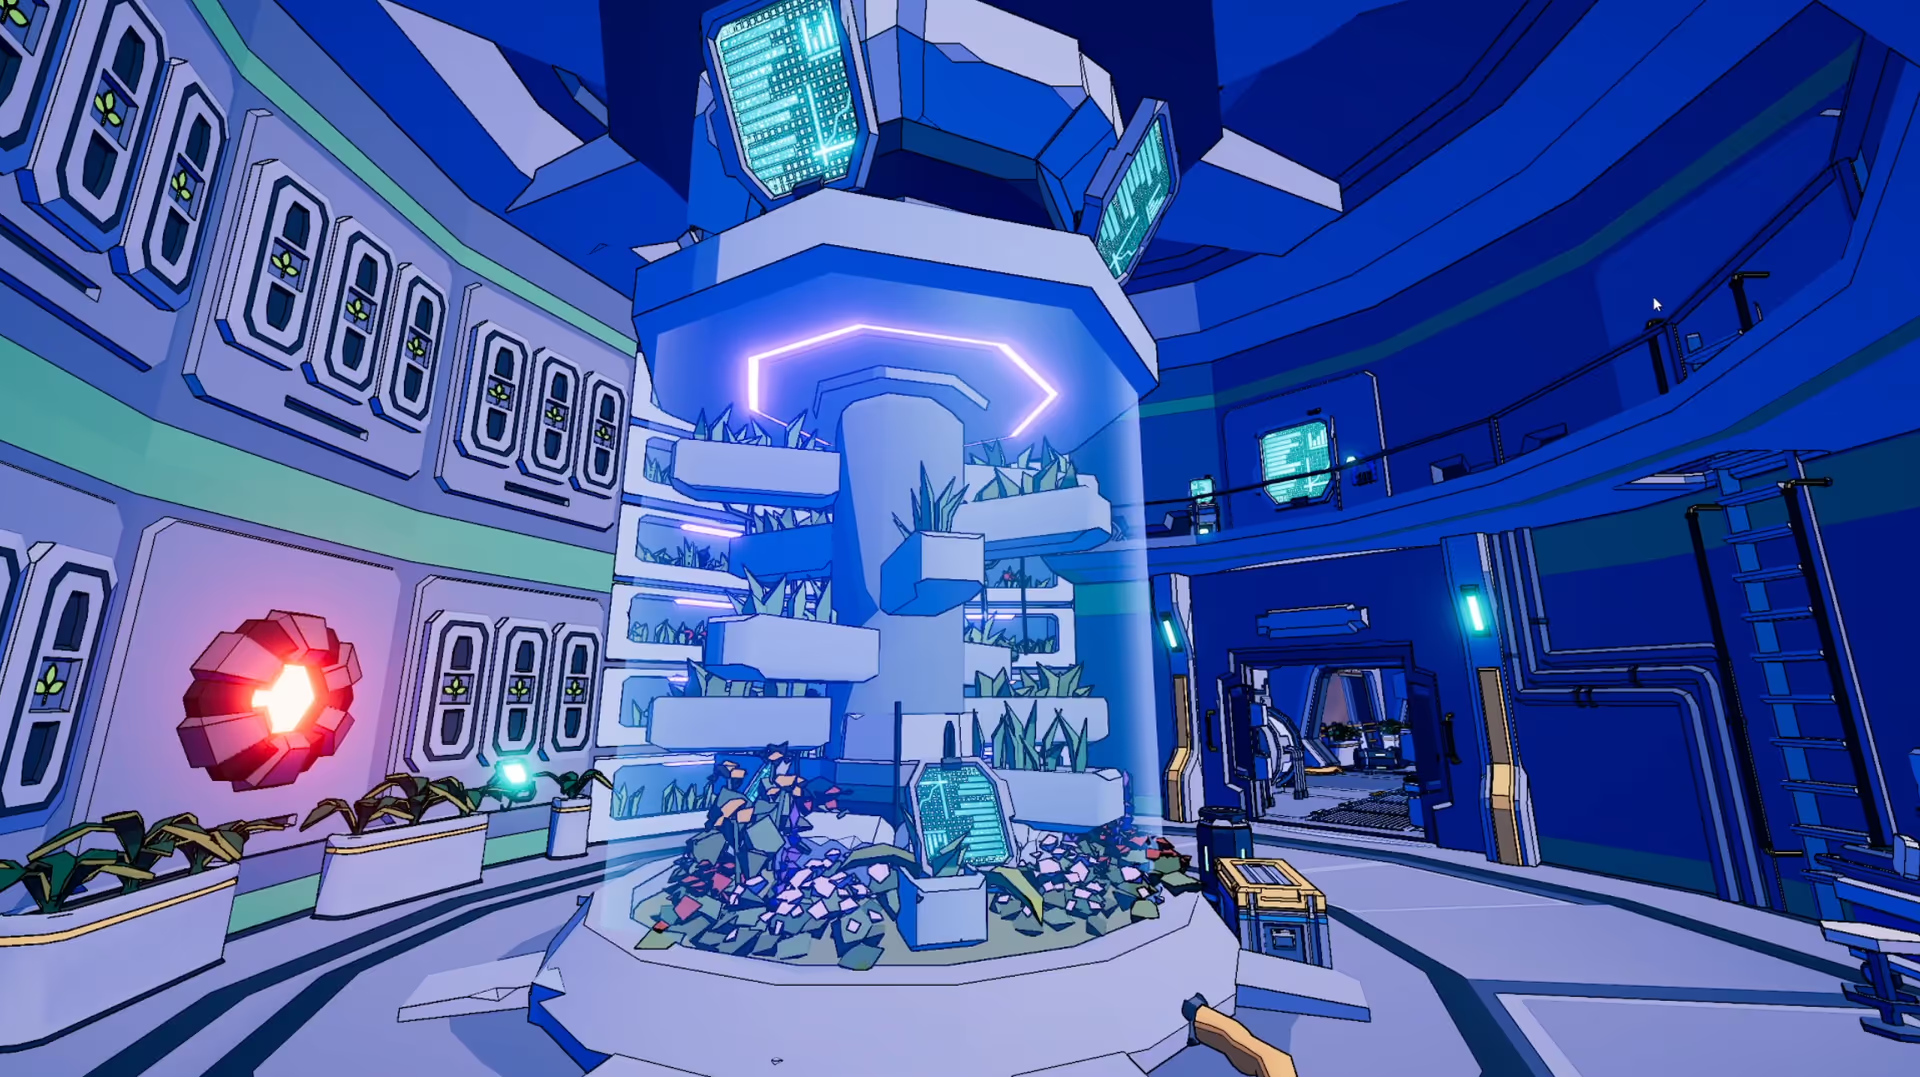
With shaders, you can change object colors, reflections, lighting, and other visual properties to create a wide variety of effects and styles for your games. For example, you can use a toon shader to make characters look hand-drawn, make beautiful grass, or enhance your game with realistic graphics metal objects look shiny or reflective.
But shaders aren’t just for changing the way objects look. You can also use them to create special effects like surface deformations, reflections, and refractions.
For example, you can use a vertex shader to dynamically change an object’s shape to simulate ocean waves or stretch and squash effects. These effects can add realism and immersion to your scene.
Additionally, you can use shaders to modify screen or render textures to create post-processing effects like radial blur, auto exposure, or ASCII effects. These effects can give your game a unique visual style or enhance its overall look and feel.
In short, shaders in Unity’s URP give you a lot of control over how objects are rendered. They let you create immersive and visually stunning games by customizing object rendering and adding special effects that enhance realism and immersion.
Types of shaders
Are you ready to transform the way your game looks with shaders? There are various types of shaders, including pixel shaders, vertex shaders, and geometry shaders, each capable of making different kinds of changes to your graphics.
From altering colors and reflections to creating special effects, the possibilities are endless with shaders!
Older graphics cards have separate processing units for each type of shader, but newer cards feature unified shaders that can execute any type of shader. This allows for more efficient use of processing power.
Pixel Shaders
2D shaders only work on images, also known as textures. They modify pixel attributes and can be used in 3D graphics. Pixel shaders, the only type of 2D shader, manipulate the color and other attributes of each “fragment,” a unit of rendering affecting one pixel.
Pixel shaders can create simple or complex effects, such as always outputting the same color or adding lighting and other special effects.
3D Shaders
3D shaders operate on 3D models or other geometry and can also access the colors and textures used to draw the model. Vertex shaders, the most common type of 3D shader, run once for each vertex.
Vertex shaders transform the 3D position of each vertex to the 2D position on the screen and add a depth value for the Z-buffer. Vertex shaders can change properties like position, color, and texture coordinates, but they can’t create new vertices.
Geometry shaders can generate new vertices and primitives, such as points, lines, and triangles, from input primitives.
Tessellation shaders add detail to batches of vertices at once, such as subdividing a model into smaller groups of triangles to improve curves and bumps. They can also alter other attributes.
Compute shaders are a type of shader that allows developers to perform general purpose computing tasks on the GPU. They are used to perform tasks that are not related to rendering graphics, such as image processing, simulation, and artificial intelligence.
Compute shaders are executed on the GPU using many parallel threads. This makes them much faster than performing the same tasks on the CPU.
On the other hand, ray tracing shaders are a type of shader that is used to simulate the physical behavior of light in real-time.
Ray tracing shaders are used to create realistic lighting and shadows, reflections, and refractions in a scene. They work by tracing the path of light rays as they bounce off of objects in the scene and calculating how they should be rendered. Ray tracing shaders are more computationally intensive than other types of shaders, but they can create very realistic graphics.
Step-by-step guide
- Open Unity and create a new URP project.
- In the Project window, go to the folder where you want to create your shader. Right-click and select Create > Shader > Unlit Shader. This will create a new unlit shader asset in your project.
- Double-click the shader asset to open it in your code editor. This is where you will write the code for your shader. Your code editor may not have support for editing Shader files. You can install an extension, like HLSL Tools for Visual Studio, to make editing Shaders easier.
- Delete all of the contents of the shader file.
- Copy and paste the shader file code below into the file.
- Save the file, then drag and drop the shader to a material, and add the material to an object in your scene.
- You can customize the Color property to change the color of the object.
This is a very basic introduction to a boilerplate style shader.
Conclusion
You are now ready to supercharge your Unity game with custom shaders!
As you can see, shaders are an essential tool in Unity’s Universal Render Pipeline (URP) that allow you to customize and manipulate the way objects are rendered in your scene.
With shaders, you can change object colors, reflections, lighting, and more to create a wide range of effects and styles. Plus, you can use them to create special effects like surface deformations, reflections, and refractions that add realism and immersion to your game.
In this article, we’ve given you a step-by-step guide on how to create your own shaders in Unity URP. Now it’s time for you to get started and see what amazing things you can create with shaders in Unity!
Don’t forget to share this article with your fellow game developers 🤓!