Shader Tags: Understanding Unity's SubShader and Pass Functionality
1. Introduction
If you are a game developer using Unity, you may already be familiar with shaders, which are essential for creating visually stunning graphics in your games. Shaders are programs written in a special language that dictate how objects in your game world are rendered on the screen. Unity provides a powerful and flexible shader system that allows developers to control various rendering aspects, and in this article, we will delve into the world of Shader Tags, focusing on SubShader and Pass functionality.
In Unity, shaders consist of one or more SubShaders, and each SubShader contains one or more Passes. A SubShader is a collection of shaders that will be used depending on the target hardware and rendering capabilities. Within a SubShader, you can use SubShader Tags to control how the shaders behave and interact with the rendering pipeline. On the other hand, Pass Tags allow you to specify certain properties for individual Passes.
2. Understanding SubShader Tags
SubShader Tags are key-value data pairs that provide information about the SubShader. They allow you to specify certain settings that control how the SubShader is processed by the rendering pipeline. Let’s take a closer look at some essential SubShader Tags:
2.1 RenderPipeline
This tag is used to specify the render pipeline to which the SubShader is targeted. Different render pipelines have specific requirements and features, so setting the appropriate render pipeline tag is crucial for achieving the desired rendering behavior. You should set this value to UniversalPipeline for URP.
2.2 Queue
The Queue tag allows you to determine the render queue in which the SubShader should be executed. Render queues are used to control the rendering order of different objects in your scene, ensuring correct rendering and avoiding visual artifacts. This tag is very important.
2.3 RenderType
The RenderType tag defines the type of the SubShader, such as “Opaque,” “Transparent,” or “TransparentCutout.” This setting is actually not very important, but it is used to identify specific SubShaders to override using RenderStateBlocks.
2.4 DisableBatching
Batching is a technique used by Unity to optimize rendering performance by combining similar objects into a single draw call. The DisableBatching tag, when set to true, prevents Unity from batching objects using this SubShader.
2.5 ForceNoShadowCasting
If you want to exclude objects with this SubShader from casting shadows, you can use the ForceNoShadowCasting tag. In general, this would be used with override or replacement shaders.
2.6 CanUseSpriteAtlas
When using 2D sprites, the CanUseSpriteAtlas tag allows you to specify whether this SubShader can use sprite atlases for improved performance.
2.7 PreviewType
The PreviewType tag determines how the SubShader is previewed in the Unity editor’s inspector. It is useful for developers to visualize the appearance of the SubShader during development.
2.8 More Information on SubShader Tags
For more detailed information on SubShader Tags and how to use them effectively, refer to the official Unity documentation: Unity SubShader Tags
3. Exploring Pass Tags
Unlike SubShader Tags that apply to the entire SubShader, Pass Tags are specific to individual Passes within a SubShader. Passes allow you to define different rendering techniques for the same object, enabling complex and dynamic visual effects. In this section, we will cover the LightMode Pass Tag.
3.1 LightMode
The LightMode tag is used to define whether a specific Shader Pass should be rendered by a specific Render Pass. For example, when in the Deferred render path, Unity will render a GBuffer. When rendering the GBuffer, Unity looks for a Shader Pass with a LightMode of UniversalGBuffer, then renders that pass. Similarly, when rendering the Depth Texture, Unity looks for a Shader Pass with a LightMode of DepthOnly. If the corresponding Pass is not found, Unity will not render that shader for that Pass.
3.2 More Information on URP Pass Tags
For more detailed information on Pass Tags and their usage in the Universal Render Pipeline, check out the official Unity documentation: URP Pass Tags
4. ShaderLab Commands
ShaderLab Commands are used to set the Render State of a shader on the GPU. They allow you to define how the rendered object interacts with light, shadows, blending, and other rendering settings. These commands can be defined either within a SubShader or inside a Pass. Here are a few examples of common ShaderLab Commands.
4.1 Cull
The Cull command specifies which side of the geometry should be culled during rendering, either “Front,” “Back,” or “Off.”
4.2 ZTest
The ZTest command controls the depth buffer testing during rendering, ensuring correct occlusion and layering of objects.
The most common ZTest option is LEqual. LEqual indicates that the shader will evaluate the Depth Buffer and will render the fragment if it has a depth that is less than or equal to the depth in the depth buffer.
A less common ZTest option is Always. Always indicates that the shader will always render the fragment, regardless of the depth value in the depth buffer.
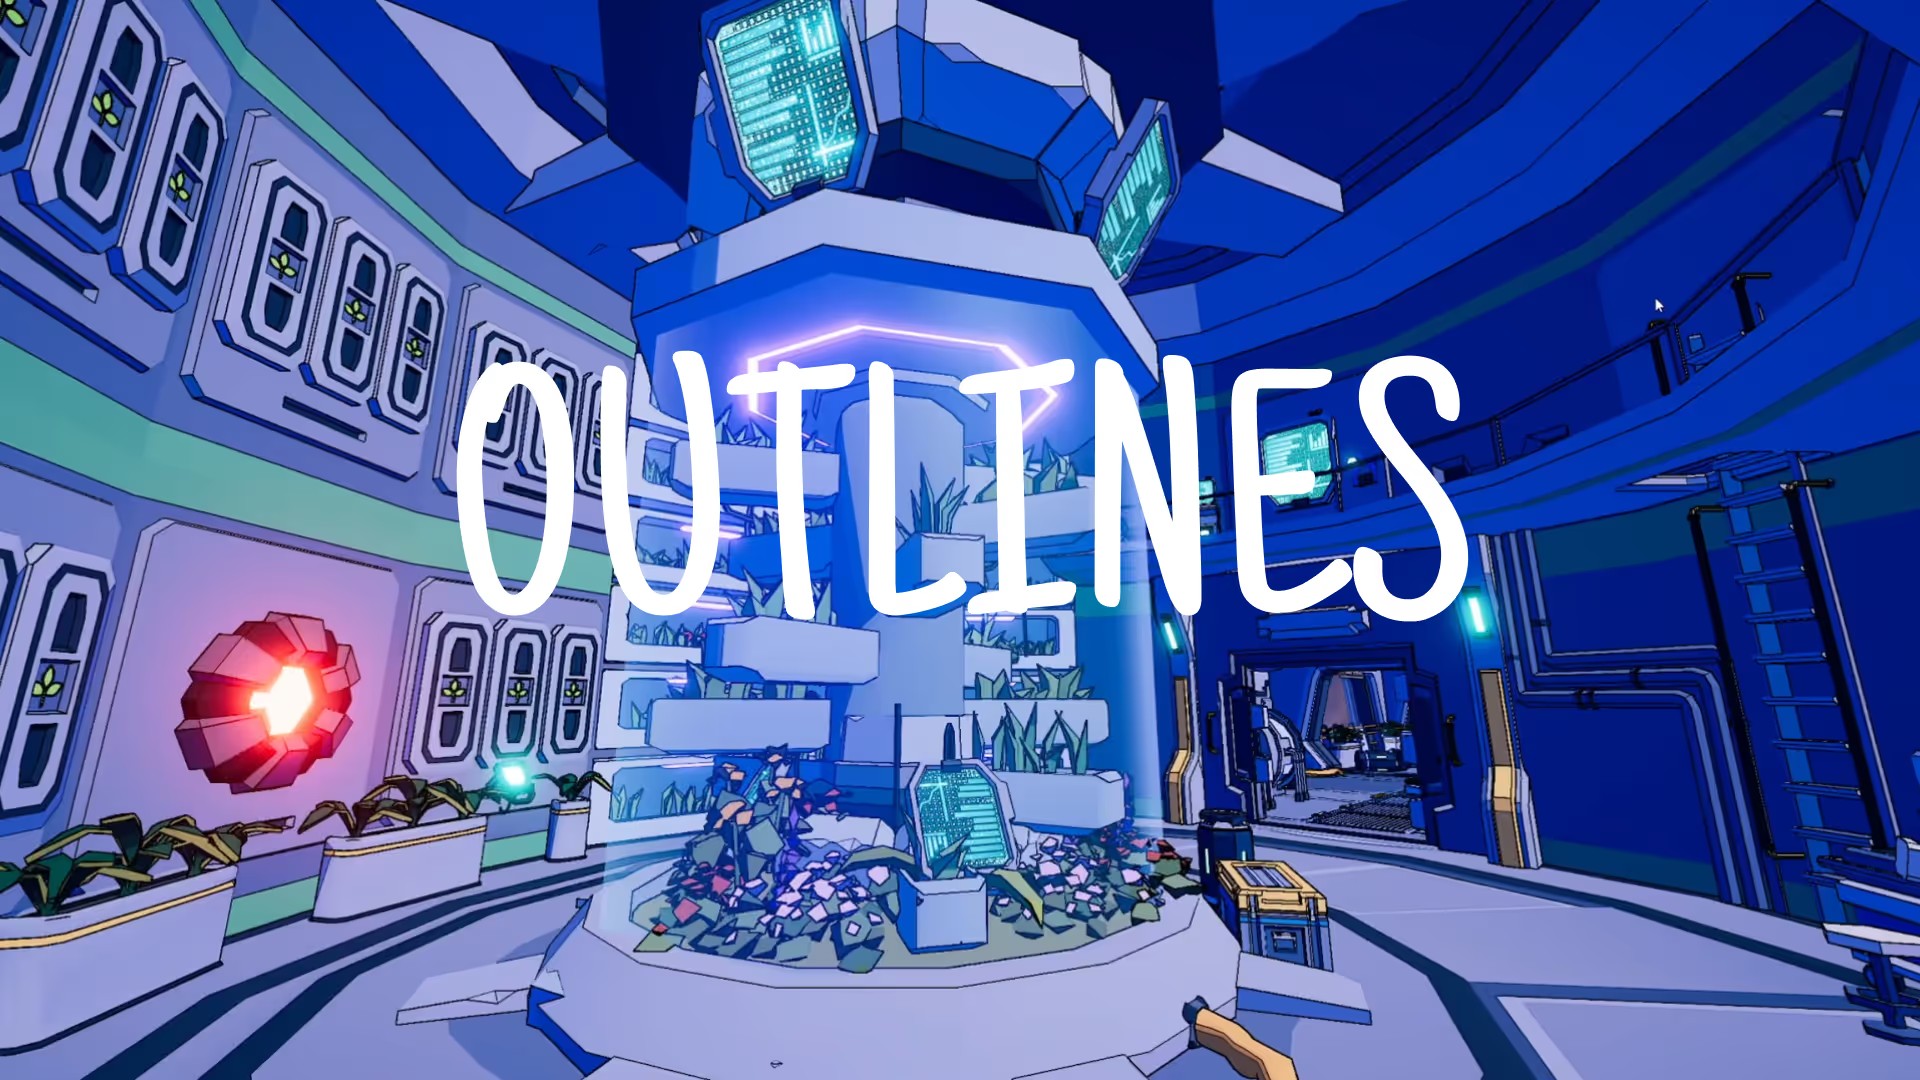
Another ZTest option is GEqual. GEqual indicates that the shader will only render the fragment if the depth of the fragment is greater than or equal to the depth in the depth buffer. For example, you can use this command to render outlines on characters that are occluded by other scene geometry.
4.3 ZWrite
The ZWrite command determines whether the shader should write to the depth buffer. If a shader does not write to the depth buffer, then objects behind the shader may appear as if they are in front of it. This impacts the rendering order of objects in your scene.
4.4 Blend
The Blend command defines how the object’s color is blended with the background, allowing for various transparency and blending effects.
5. Conclusion
Shader Tags play a crucial role in controlling how shaders behave and interact within Unity’s rendering pipeline. Understanding SubShader Tags and Pass Tags is essential for optimizing rendering performance and achieving the desired visual effects in your game. By utilizing the power of ShaderLab Commands, you can further fine-tune the rendering process and create impressive and visually appealing game graphics.
If you found this article and want to stay up-to-date on Unity information or get free Unity assets, join our newsletter.
6. FAQs
Q: Can I use SubShader Tags in a Pass?
A: No, SubShader Tags only work when defined in a SubShader.
Q: What happens if I define Pass Tags in a SubShader?
A: Pass Tags do not work when defined in a SubShader.
Q: How many Passes can I have in a SubShader?
A: There is no strict limit to the number of Passes, but excessive Passes may impact performance.
Q: Are ShaderLab Commands specific to a SubShader?
A: ShaderLab Commands can be defined in either a SubShader or in a Pass.
Q: Can I change the default Shader preview model in the Unity editor?
A: Yes, you can use the PreviewType tag to control how the SubShader is previewed.




.avif)





.avif)
