Blender: How to Flip Normals
Blender is a powerful 3D modeling software that offers a wide range of tools and features to create stunning visual effects, animations, and more. One essential aspect of 3D modeling is understanding and manipulating normals.
In this article, we will explore the concept of normals in Blender and learn how to flip them effectively. Whether you are a beginner or an experienced user, this guide will provide you with the necessary knowledge to master this technique.
If you need textures for Blender, we have a ton of free textures that you can use for your project.
Introduction
Blender is a versatile 3D modeling software used by professionals and enthusiasts alike. Normals play a crucial role in defining the orientation of surfaces within a 3D model. Understanding how to manipulate normals can greatly enhance the realism and visual quality of your 3D creations.
Understanding Normals
Normals are vectors perpendicular to the surfaces of 3D objects. They determine how light interacts with the object. The normal is based on the face orientation. Normals affect shading, reflections, and other visual properties. In Blender, each face of a 3D object has its own normal.
Importance of Normals in 3D Modeling
Accurate normals are essential for achieving realistic lighting and shading effects. They ensure that light is correctly calculated and reflected on the surface of a model. Incorrect normals can result in visual artifacts. Examples of visual artifacts include black spots, weird lighting edges, and incorrect shading.
What are Flipped Normals?
Flipped normals occur when the orientation of a face’s normal is reversed. The normal may be pointing inwards instead of outwards or vice versa. This can lead to incorrect lighting and shading effects. As a result, the object may appear distorted or inverted.
Reasons for Flipping Normals
There are several reasons why you may need to flip normals in Blender:
- Imported Models:
When working with models from external sources, such as 3D marketplaces or other software, the normals may not be correctly aligned. Flipping them ensures proper rendering in Blender. - Modeling Errors:
During the modeling process, you might accidentally create faces with inverted normals. Flipping them corrects the orientation. - Complex Geometry:
Some intricate models, like organic shapes or architectural structures, require manual adjustments to achieve desired lighting effects.
How to Flip Normals in Blender
Blender provides multiple methods to adjust the mesh normals. Let’s explore two common techniques:
Method 1: Recalculating Normals in Edit Mode
- Select the object you want to edit by clicking on it.
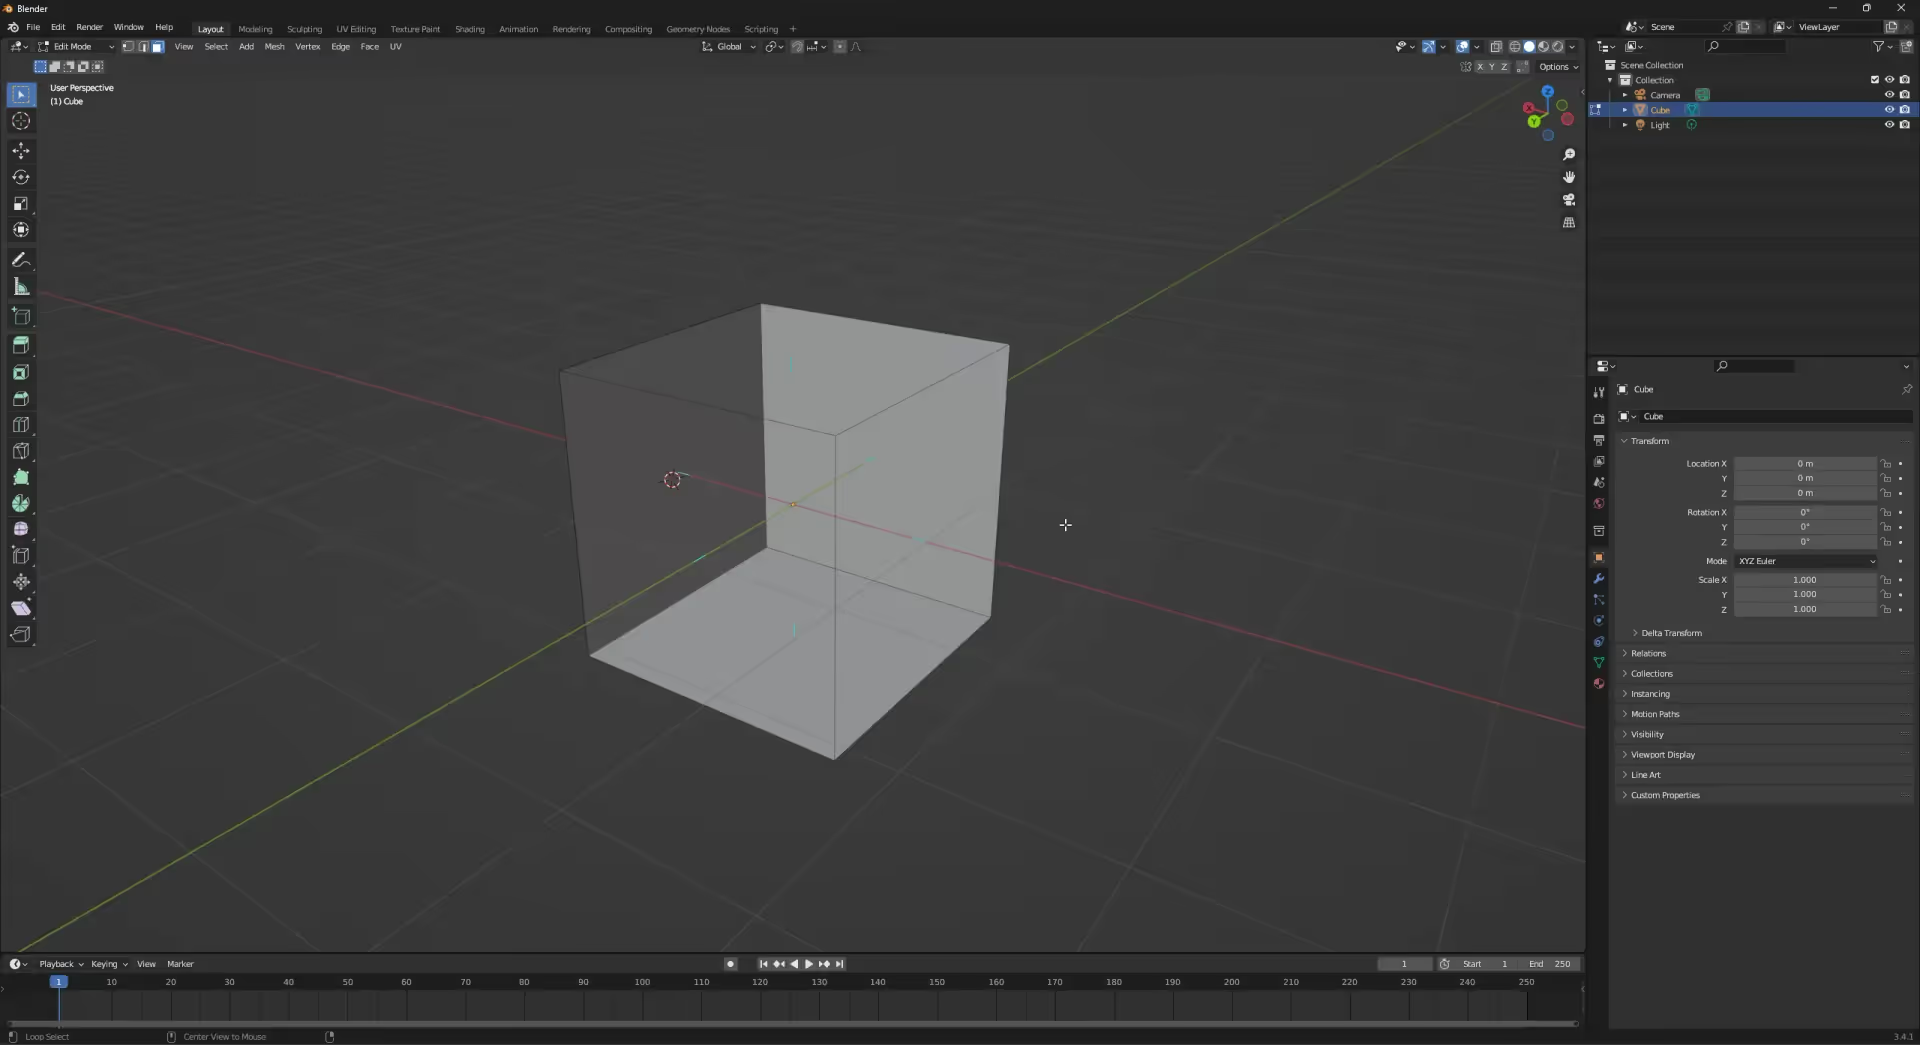
- Enter Edit Mode by pressing the Tab key or selecting it from the Mode dropdown menu in the top-left corner of the Blender interface.
- Enter Face Select Mode by selecting it from the Mode Selection menu in the top-left corner of the Blender interface.
- In Edit Mode with Face Select Mode active, select the faces with flipped normals by clicking on them.
- Press Shift + N or go to Mesh > Normals > Recalculate Outside to recalculate the selected face normals.
Method 2: Flip Normals in Edit Mode
- Select the object you want to edit by clicking on it.
- Enter Edit Mode by pressing the Tab key or selecting it from the Mode dropdown menu in the top-left corner of the Blender interface.
- Enter Face Select Mode by selecting it from the Mode Selection menu in the top-left corner of the Blender interface.
- In Edit Mode with Face Select Mode active, select the faces with flipped normals by clicking on them.
- Go to Mesh > Normals > select Flip Normals to flip the selected face normals.
Tips for Working with Normals
Always ensure your objects have correct normals before rendering or exporting.
It’s easy to fix normals in Blender. Usually.
Use the Flip Normals option sparingly and only when necessary. You can avoid headaches by using Flip Normals on specific faces rather than on the entire mesh. Trust me.
Regularly check your model’s normals for issues during the modeling process.
Keep your topology clean and avoid overlapping faces or intersecting geometry.
Common Issues with Normals
- Visible Edges:
If you notice visible edges or black spots on your model, it may indicate inverted normals. - Smooth Shading Problems:
Improperly aligned normals can lead to shading artifacts, making the object appear faceted instead of smooth.
Conclusion
Understanding and manipulating normals is a vital skill for any Blender user. By mastering the art of flipping normals, you can enhance the realism and visual quality of your 3D models.
Remember to use the appropriate techniques, such as editing normals in Edit Mode, recalculating normals, or utilizing the Solidify Modifier, based on your specific requirements.
Frequently Asked Questions (FAQs)
Q1: How can I check if my model has flipped normals in Blender?
To check for flipped normals in Blender, you can enable the Display Normal overlay. In the 3D Viewport, go to the Viewport Overlays dropdown menu and enable Display Normal. You can choose to display Face Normals, Vertex Normals, or Split-Vertex Normals. Blender will display a line in the direction of the corresponding normal.
Q2: Are flipped normals a common issue in 3D modeling?
Yes, flipped normals are a common issue that can occur during the 3D modeling process. It is essential to regularly check and correct inverted normals to achieve accurate lighting and shading effects.
Q3: Can I flip normals on a specific part of the model without affecting the entire object?
Yes, you can flip normals on specific parts of a model by selecting the desired faces in Edit Mode and flipping their normals. This allows you to target and correct flipped normals without affecting the rest of the object.
Q4: What other methods can I use to fix shading issues besides flipping normals?
Besides flipping normals, you can also try adjusting the lighting setup, modifying the material properties, or adding additional geometry to fix shading issues in your 3D models.
Q5: Does flipping normals affect the UV mapping of a model?
Flipping normals does not directly affect the UV mapping of a model. However, if you have applied textures or materials that rely on specific normal orientations, flipping normals may impact the appearance of your UV-mapped textures.