How to use Raycasts in Unity
Raycast is another function of Unity’s Physics class. It returns a boolean value if a given ray intersects with a game object. Raycast is used to detect collisions and detect objects in the line of sight of another object like a weapon.
Therefore, raycasts in Unity are extremely useful for detecting objects in a scene by casting rays into the scene and determining what they hit.
Common use cases of raycasting in Unity
Developers use Raycasting all the time when implementing game mechanics. Below, we have summarized some common use cases of how developers use raycasting to enable interactivity in games.
- Object Selection:
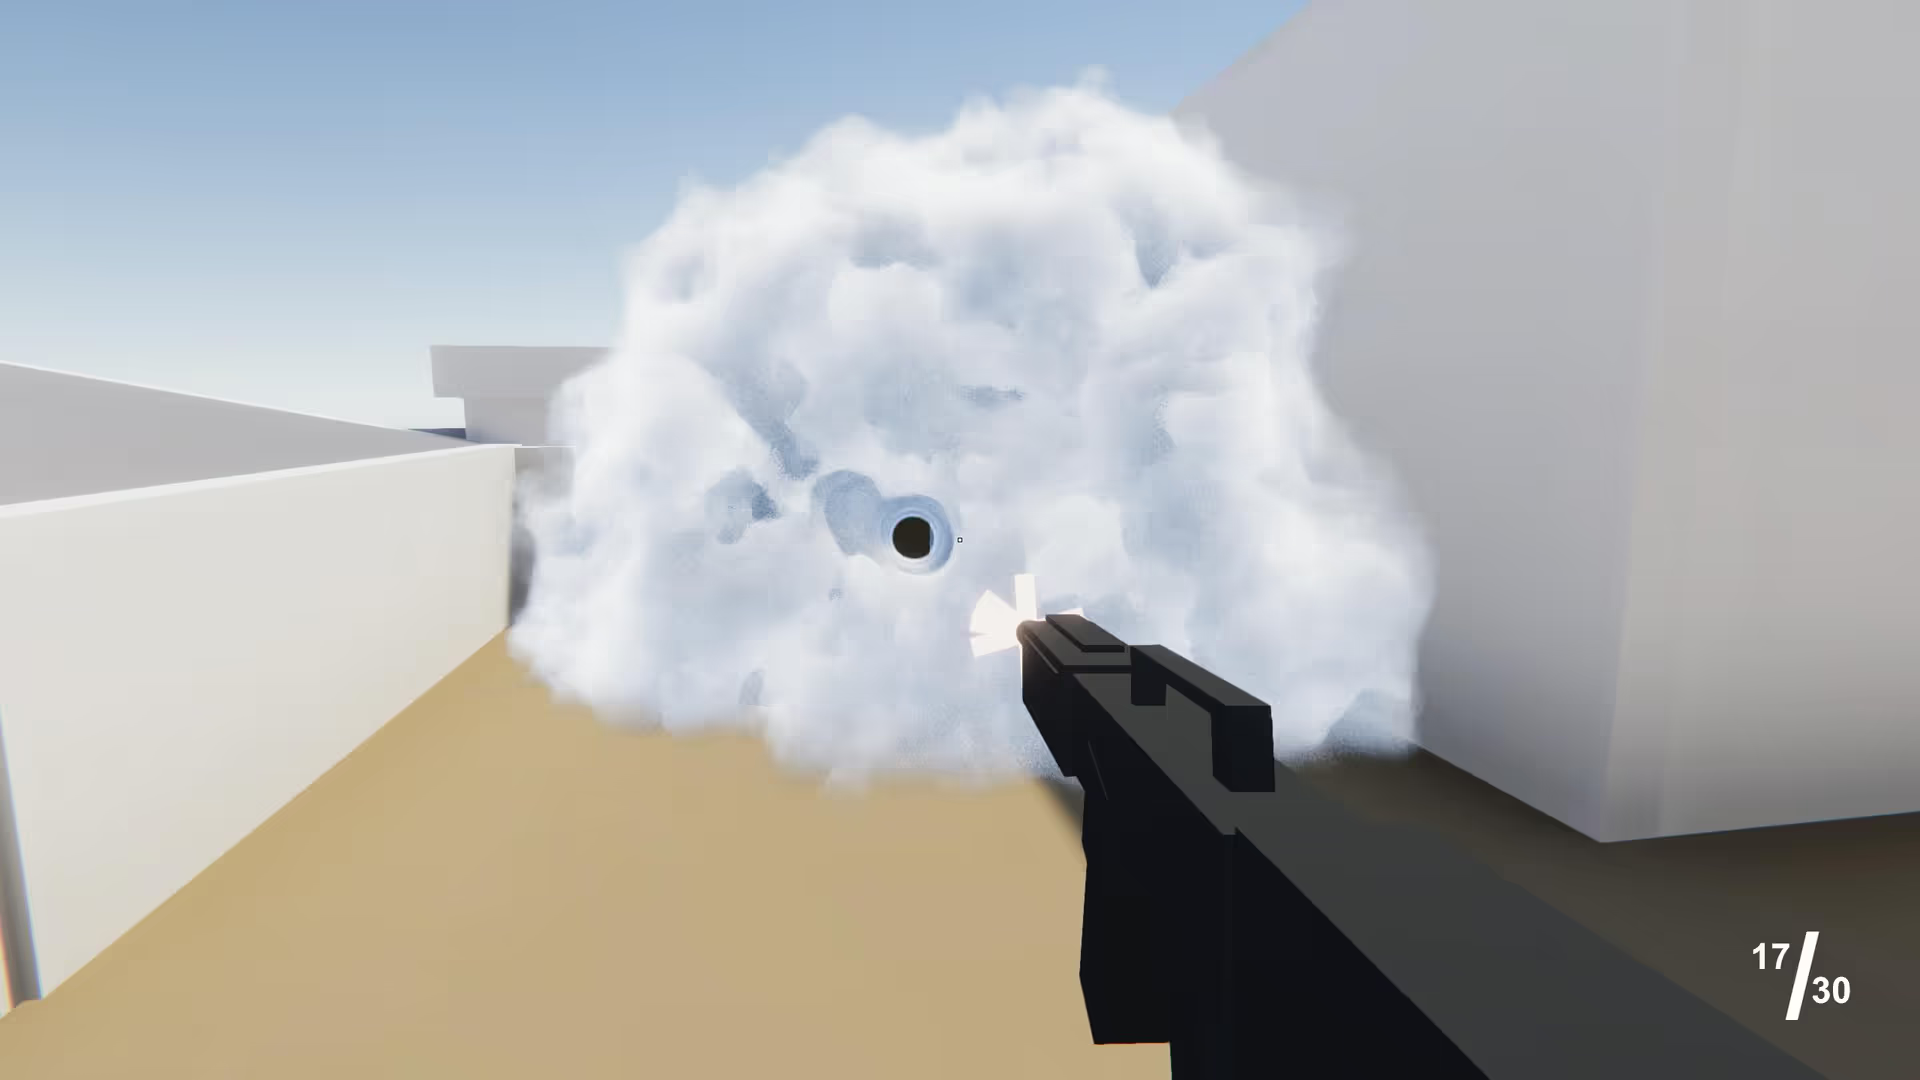
This is the most common use case of raycasts in Unity. Game objects can be detected and selected when the player hovers over them. This is achieved by casting rays from the mouse pointer and checking for collisions with selectable objects. - Shooting Mechanics:
Targets in the line-of-sight of weapons can be detected and shot at by casting rays from the weapon’s nuzzle toward the target. This is extremely useful in shooting games. This is also used in line-of-sight checks in strategy games. - Simulations:
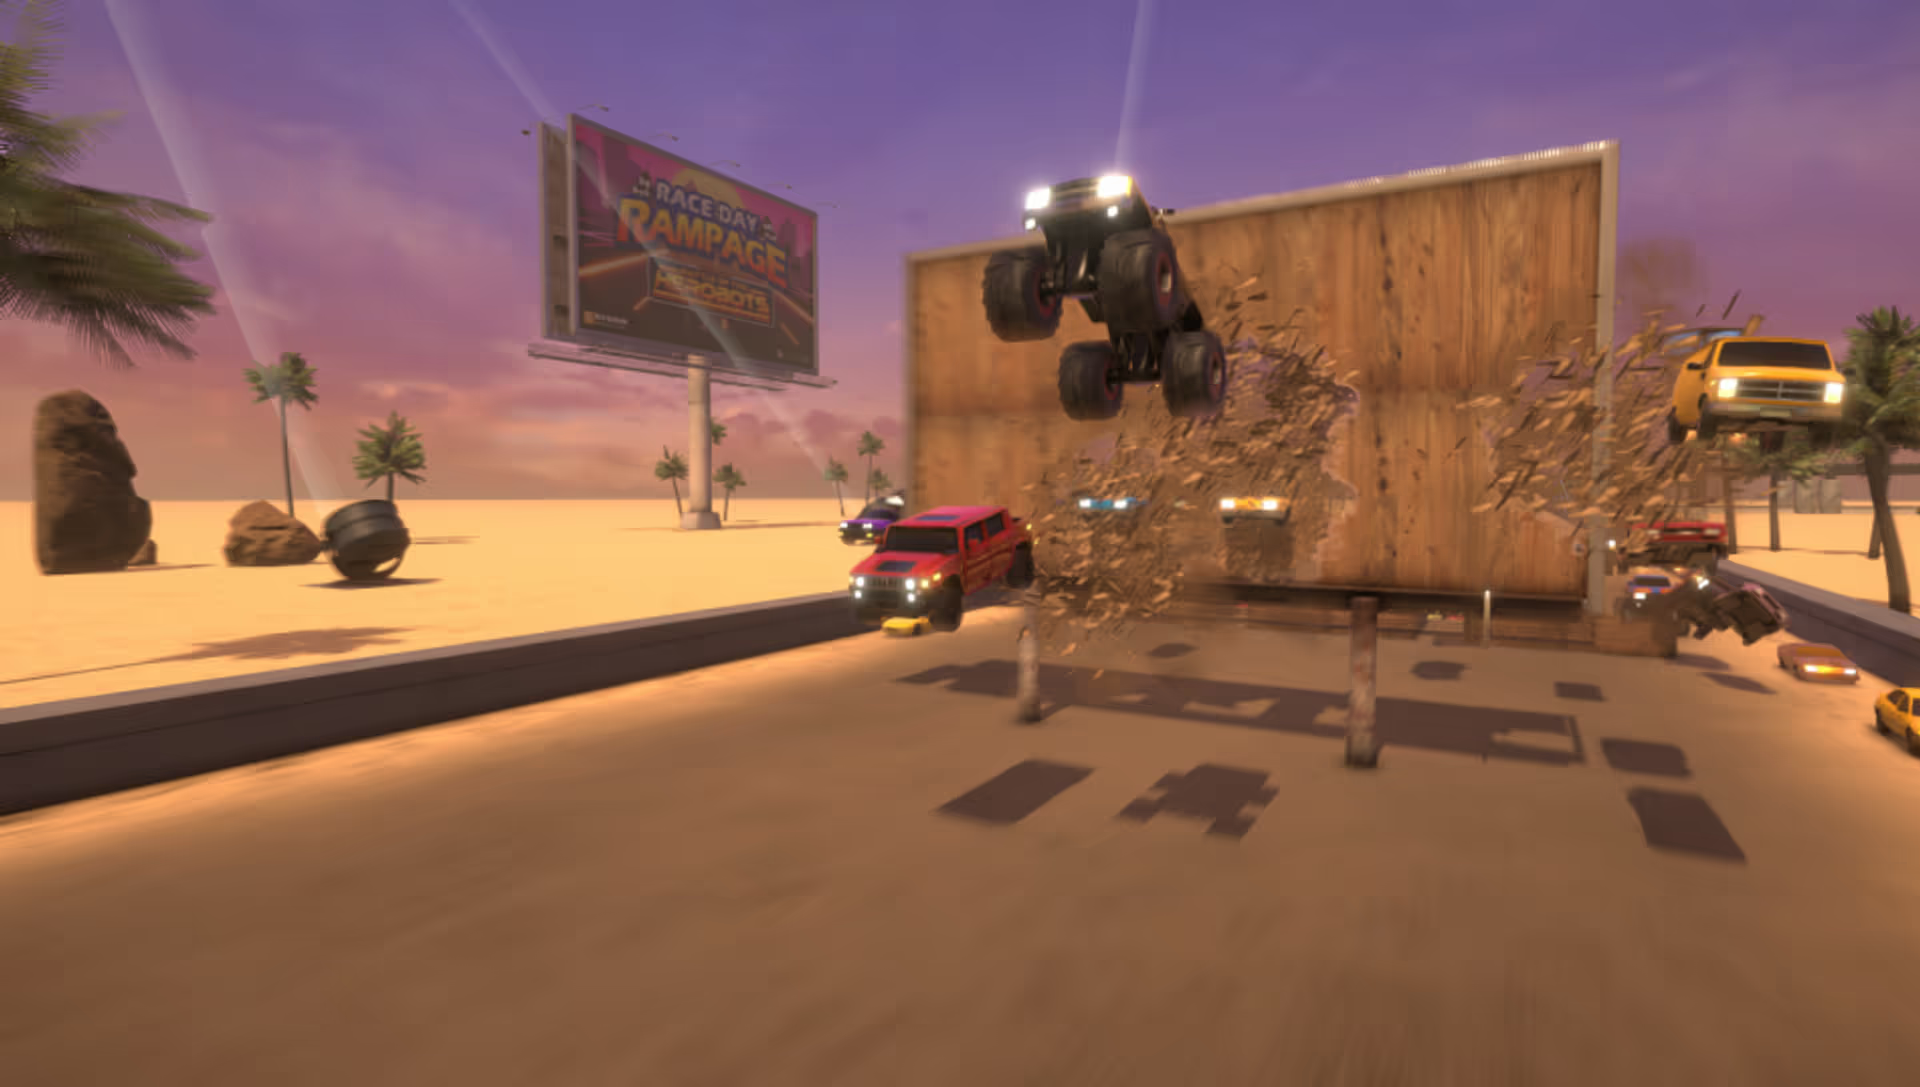
Raycasting can also be used for simulating physical interactions between game objects, including detecting collisions. Also, determining how high a character is from a ground surface, simulating jumping and landing.
As a Unity game developer, you need to be capable of using Raycasts in Unity. In this article, you will learn everything you need to know to get started.
How to use Raycasts in Unity
As a beginner in Unity, raycasts may seem daunting to understand at first, but it is straightforward once you understand its basic techniques. To understand raycasting, you need to fully understand the creation of rays.
To create a ray in Unity, you need to specify three pieces of information:
- Ray Origin:
The Ray Origin defines where the source of the ray starts. - Ray Direction:
The Ray Direction defines the vector the ray points in. - Ray Length:
The Ray Length defines how far the ray goes from the Ray Origin toward the Ray Direction.
The Ray Origin and Ray Direction both take a Vector3. The Ray Origin’s Vector3 refers to a position, whereas the Ray Direction’s Vector3 refers to a direction.
Rays can originate from an object, camera viewport, or even a mouse position.
Ray ray = Camera.main.ScreenPointToRay(Input.mousePosition);
The above code casts a ray from the mouse position on the screen.
You can also visualize the rays you created in the game world with the help of Debug.DrawRay.
Debug.DrawRay(ray.origin, ray.direction)
The above code visualizes the ray created in the former code.
Now, just creating rays is not enough, the ray information has to be stored in a variable. You can use this variable to understand what the ray hit, where it hit it, and how far away the hit way. Then, you use this information to interact with a game mechanic and make your project interactive.
Below, we use the Raycast Hit variable with the Physics.Raycast function.
using UnityEngine;

public class RaycastExmaple : MonoBehaviour
{
    void Update()
    {
        Vector3 rayOrigin = transform.position;
        Vector3 rayDirection = transform.forward;
        float rayDistance = 10f;

        Debug.DrawRay(rayOrigin, rayDirection * rayDistance);

        RaycastHit hit;
        if (Physics.Raycast(rayOrigin, rayDirection, out hit, rayDistance))
        {
            // Trigger actions for when the ray hits something
        }
    }
}
In the above code, the ray parameters are first defined as rayOrigin, rayDirection, and rayDistance Then, the ray is visualized with Debug.DrawRay().
The RaycastHit variable is used to cast the ray and check the hits, combined with the Physics.Raycast function.
Visit Unity’s Raycast documentation for more examples of using the Physics.Raycast function.
More resources:
Conclusion
Now, you have learned the basics of raycasting in Unity.
If you have not been using raycasting for your game projects, you should try it out today and experience the beauty of dynamic interactions.


.avif)


.avif)