Unity: How to Add a Texture to a Material
What This Guide Will Cover
Unity is one of the most widely used game engines in the world, and for good reason.
It is an incredibly versatile platform that allows developers to create stunning 2D and 3D games with ease.
One of the key features of Unity is the ability to add textures to materials, which can greatly enhance the visual appeal of your game. In this article, we will explore how to add texture to material in Unity.
Understanding Textures in Unity
Before we dive into how to add textures to materials in Unity, it is important to understand what textures are and how they work. In simple terms, a texture is an image that is used to cover the surface of a 3D model. Textures can be used to add a variety of visual effects to a game, such as roughness, shininess, or patterns.
Textures in Unity are created using image files such as PNG, JPG, or BMP. These files can be imported into Unity and then applied to materials to add visual effects. Unity supports a variety of texture types, including normal maps, height maps, and specular maps.
Creating a Material in Unity
Before we can add a texture to a material in Unity, we need to create a material. A material is an object in Unity that defines how a 3D model should be rendered. To create a material, follow these steps:
- In the Unity Editor, click on the Create menu in the Project window.
- Select Material from the dropdown menu.
- Name your new material and click Create.
Adding a Texture to a Material
Now that we have created a material, we can add a texture to it. To do this, follow these steps:
- Select the material you want to add a texture to in the Project window.
- In the Inspector window, click on the small circle next to the Albedo field.
- Select the texture you want to use from the dropdown menu.
- Adjust the tiling and offset settings to control how the texture is applied to the material.
Using Normal Maps
Normal maps are a type of texture that are used to create the illusion of depth and detail on a 3D model. To use a normal map in Unity, follow these steps:
- Create a new material as described above.
- In the Inspector window, click on the small circle next to the Normal Map field.
- Select the normal map texture you want to use from the dropdown menu.
- Adjust the tiling and offset settings to control how the normal map is applied to the material.
Using Height Maps
Height maps are another type of texture that are used to add depth and detail to a 3D model. To use a height map in Unity, follow these steps:
- Create a new material as described above.
- In the Inspector window, click on the small circle next to the Height Map field.
- Select the height map texture you want to use from the dropdown menu.
- Adjust the tiling and offset settings to control how the height map is applied to the material.
Using Specular Maps
Specular maps are a type of texture that are used to control the shininess of a 3D model. To use a specular map in Unity, follow these steps:
- Create a new material as described above.
- In the Inspector window, click on the small circle next to the Specular Map field.
- Select the specular map texture you want to use from the dropdown menu.
- Adjust the tiling and offset settings to control how the specular map is applied to the material.
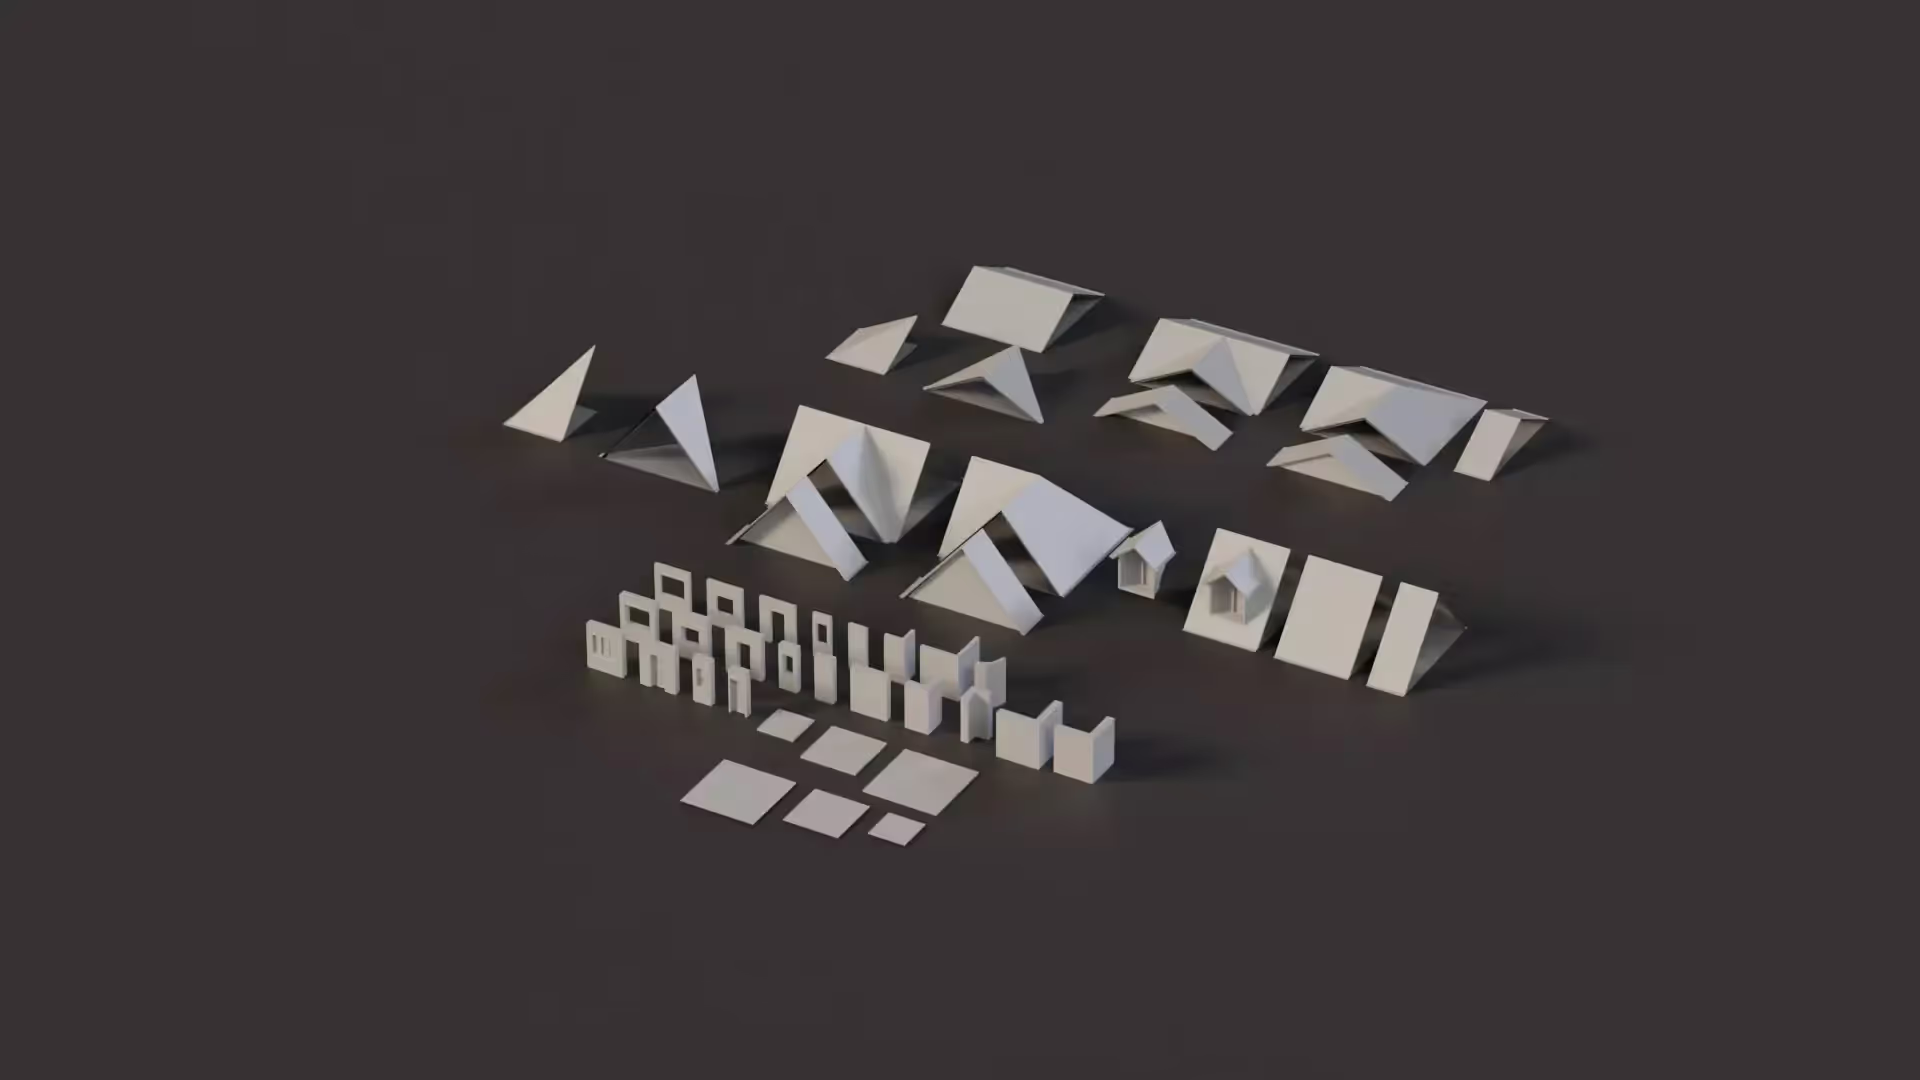
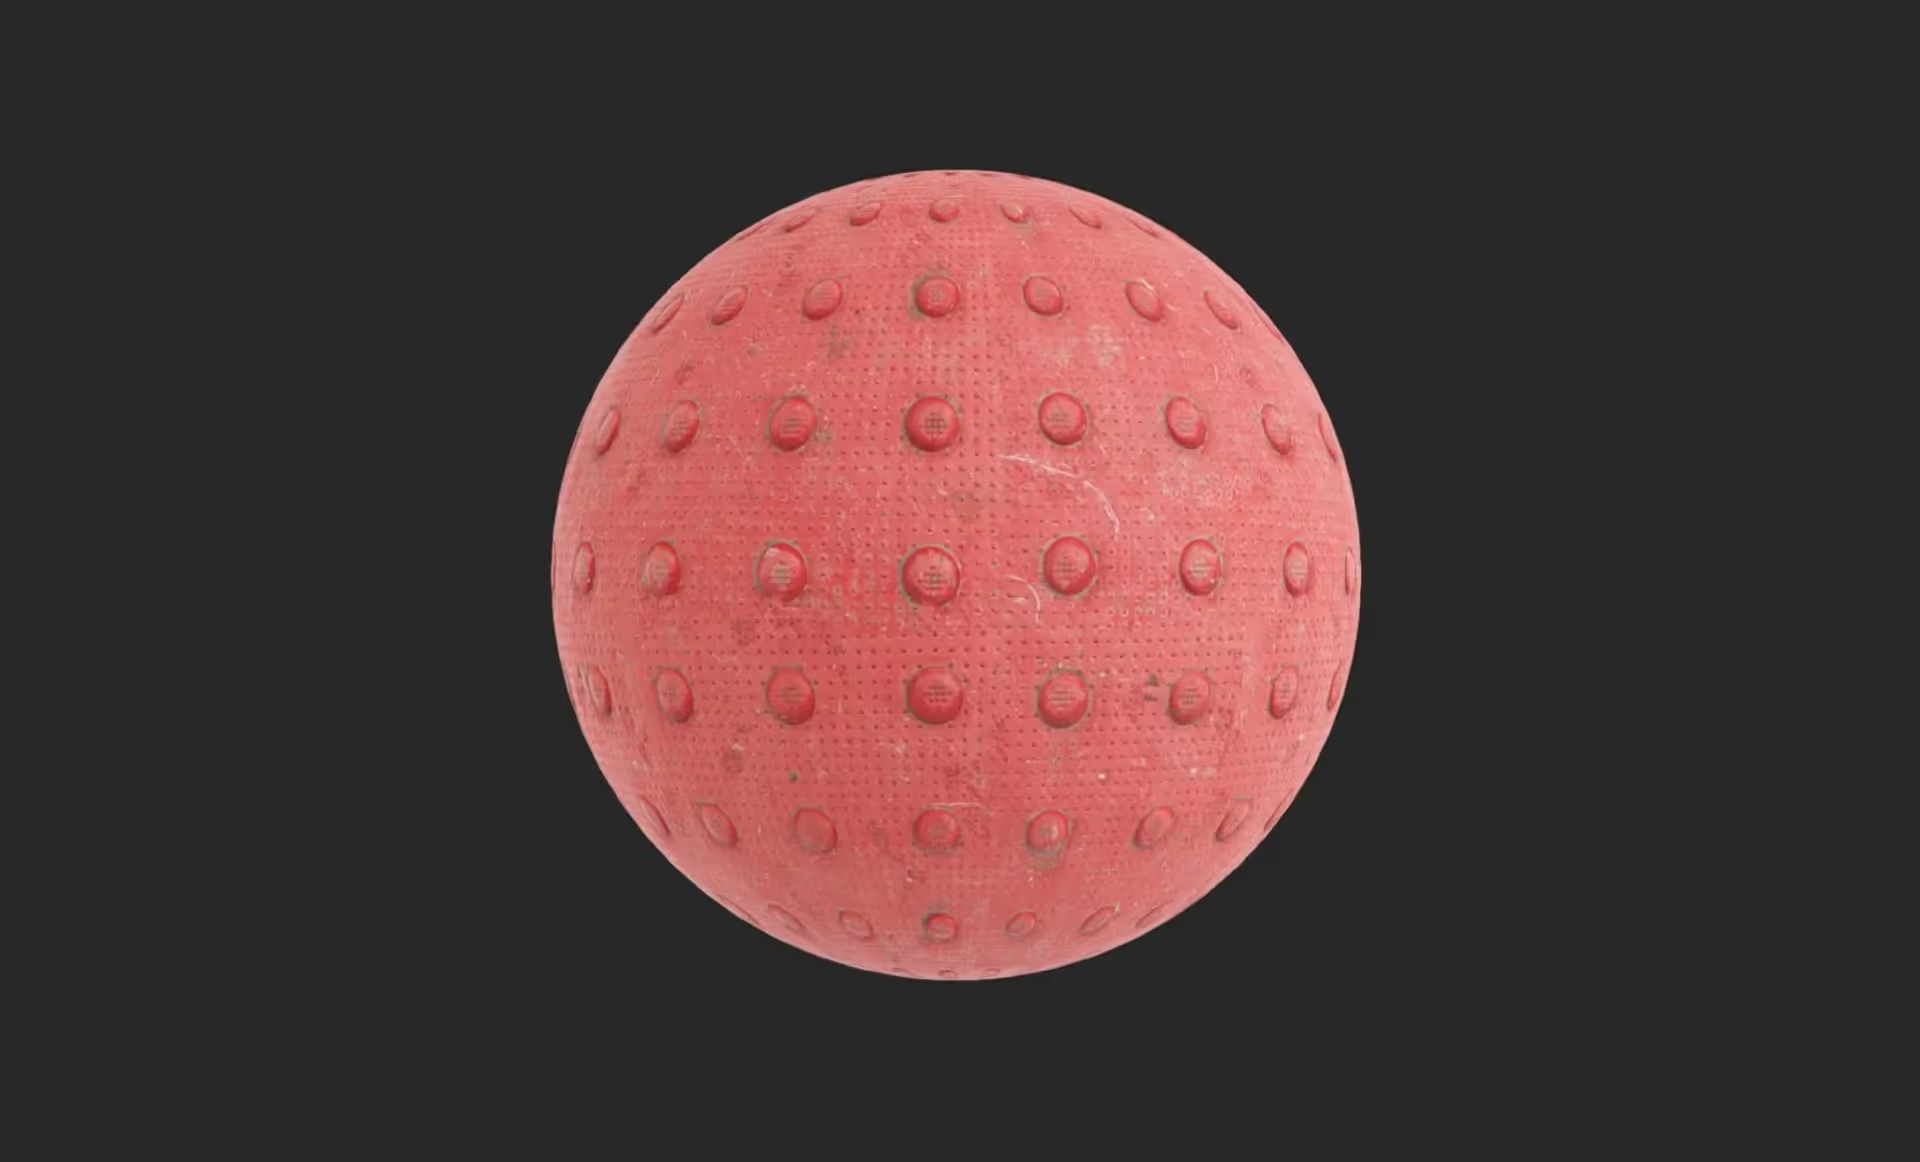
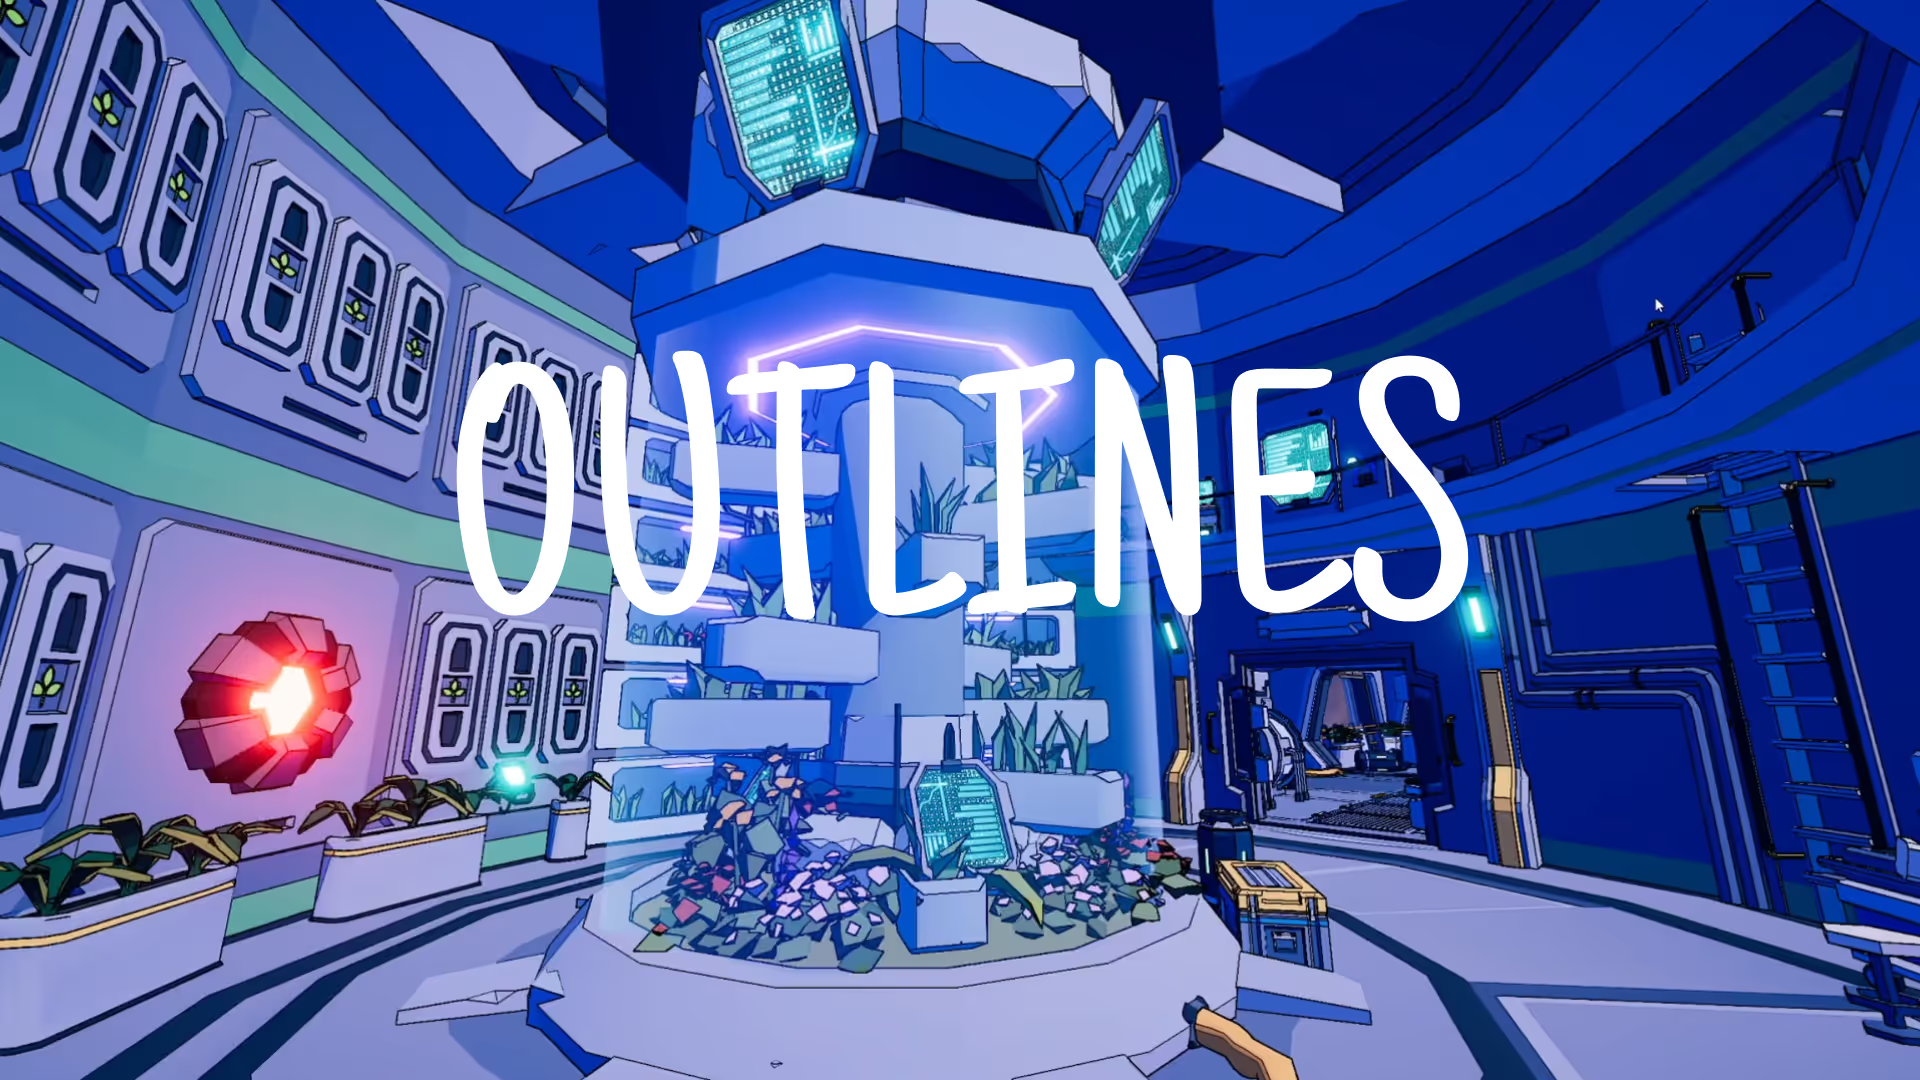
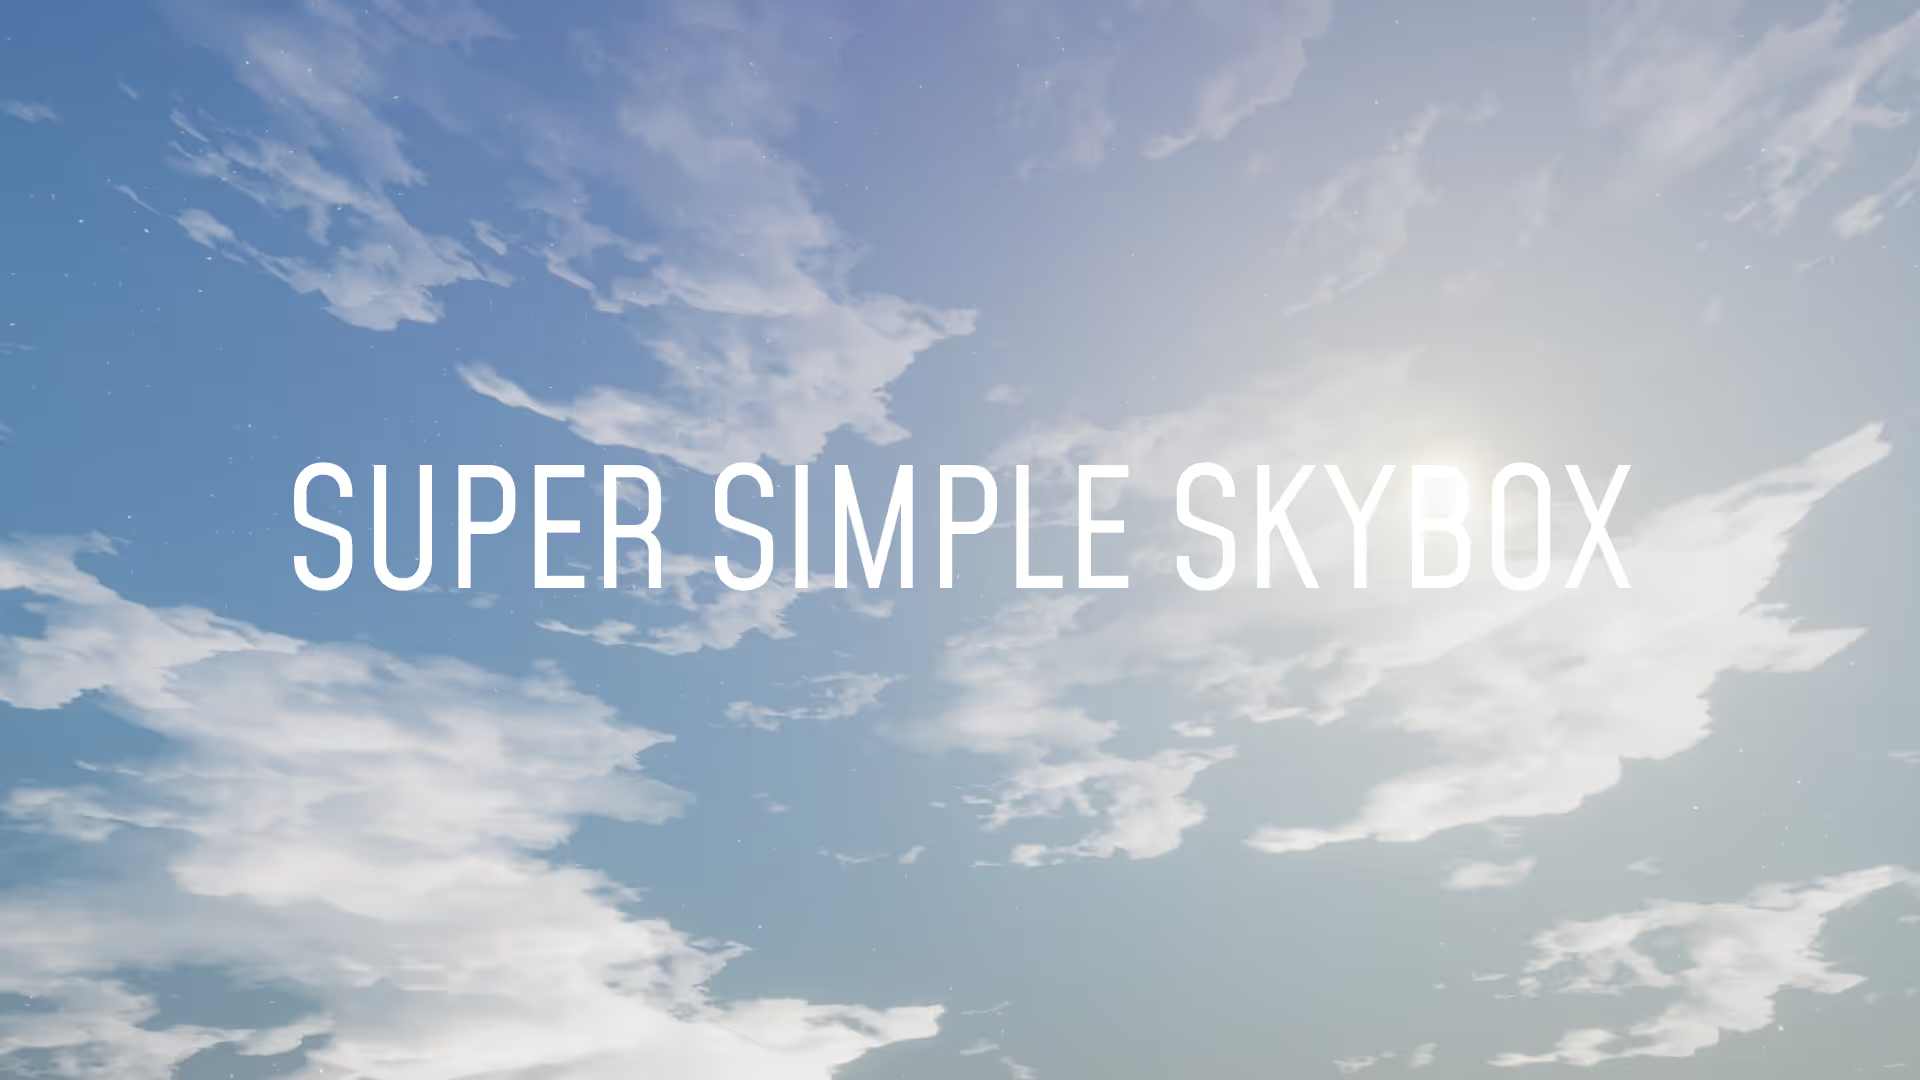
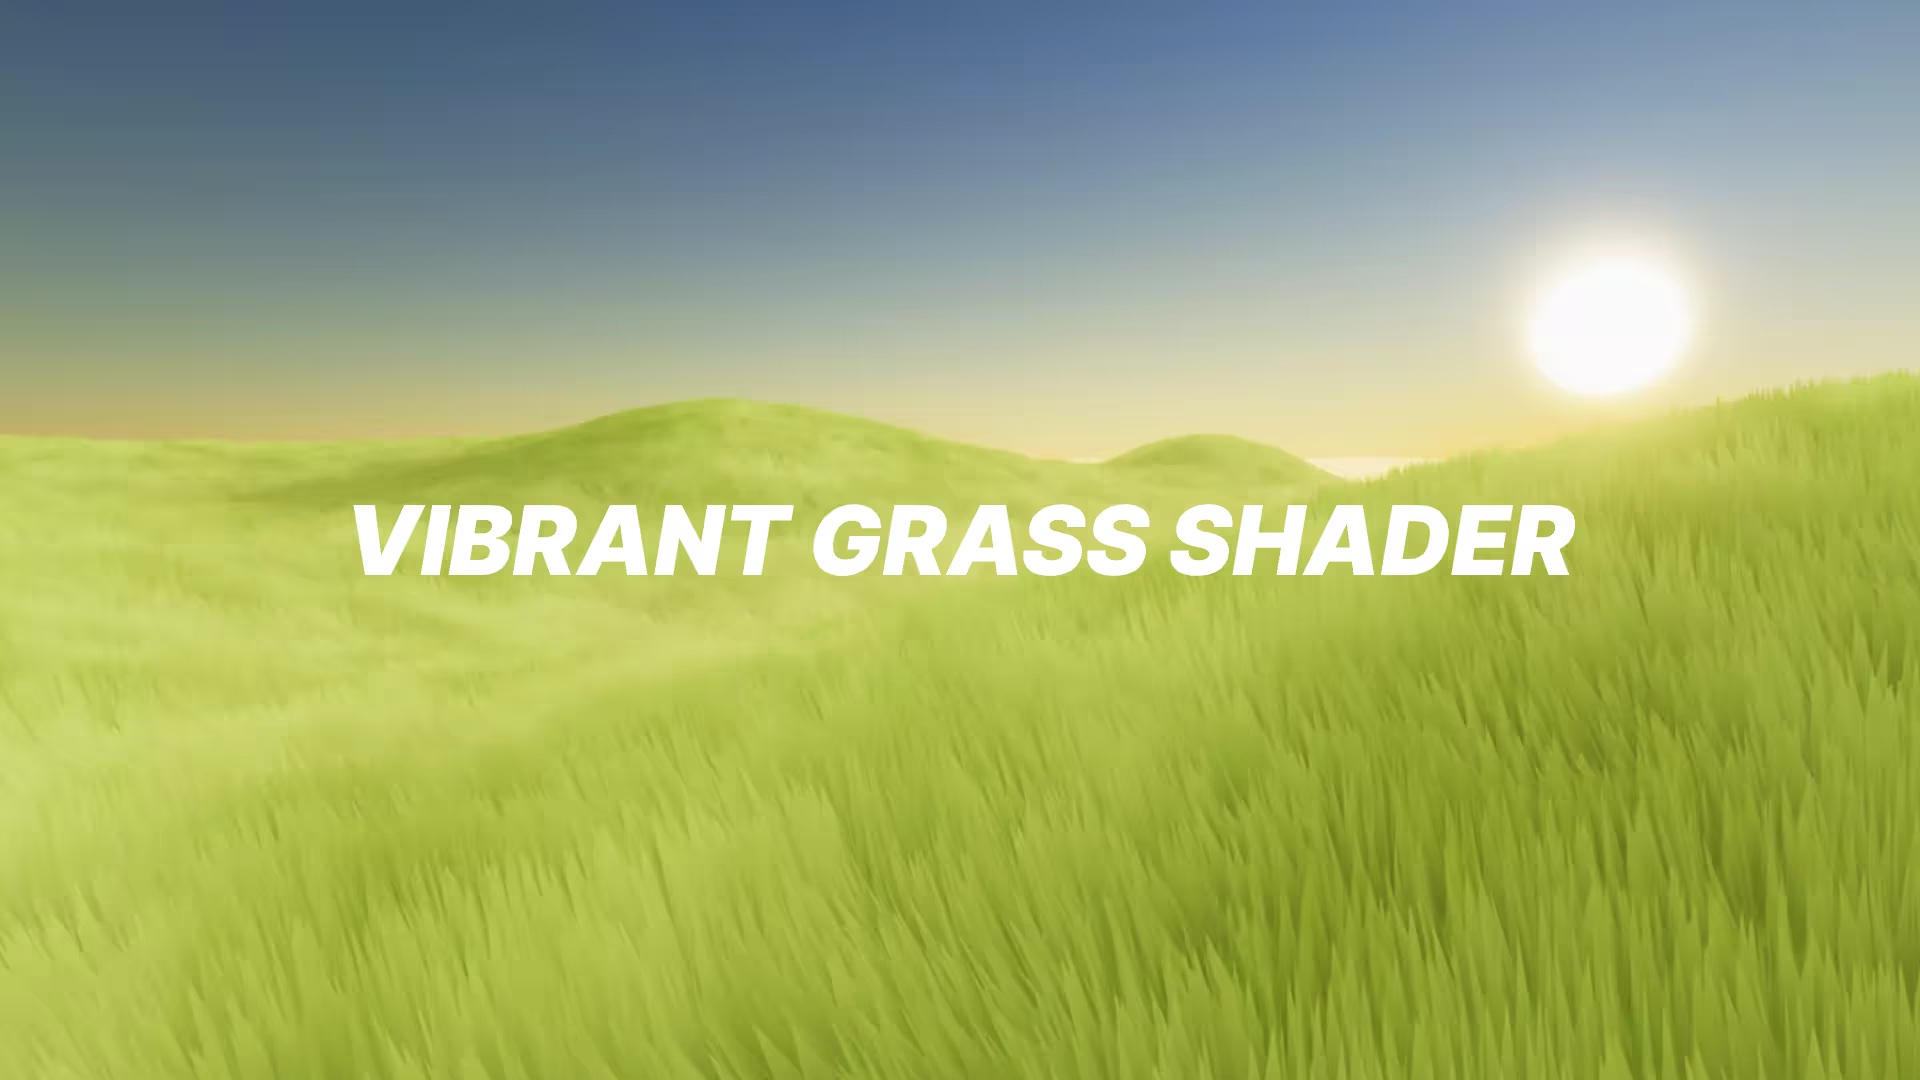
Using OccaSoftware’s game-ready textures for Unity
OccaSoftware offers a ton of free textures for Unity or any other engine.
This library includes a wide range of textures, including brick, grass, dirt, asphalt, and more. By using our textures, you can quickly and easily add high-quality textures to your Unity project. Here’s how to use our textures in Unity:
- Download the texture set you want from our texture library.
- Configure your Material in Unity with the textures.
- Adjust the tiling and offset settings to control how the texture is applied to the material.
- Repeat the process for other materials and objects as needed.
OccaSoftware’s material library is a great resource for game developers who need high-quality textures for their projects. By using this library, you can save time and effort while still creating stunning visuals for your game.
Benefits of Using OccaSoftware Textures
There are several benefits to using our texturers in your Unity project. These include:
- High-quality textures: OccaSoftware’s textures include a huge set of photo-scanned PBR textures that are designed specifically for Unity, ensuring high-quality and realistic results.
- Wide range of textures: OccaSoftware’s textures include a wide range of textures, including brick, grass, dirt, asphalt, and more, giving you plenty of options to choose from.
- Saves time: By using pre-made textures from OccaSoftware’s textures, you can save time and effort in the texture creation process.
- Easy to use: OccaSoftware’s textures is user-friendly and easy to use, even for beginners.
In conclusion, this material library is a valuable resource for game developers who need high-quality textures for their Unity projects.
By using this library, you can save time and effort while still creating stunning visuals for your game. Give it a try and see how it can improve your workflow in Unity.
Using Texture Atlases
Texture atlases are a way to combine multiple textures into a single image file. This can help to reduce the number of draw calls in your game, which can improve performance. To use a texture atlas in Unity, follow these steps:
- Create a new material as described above.
- In the Inspector window, click on the small circle next to the Albedo field.
- Select the texture atlas you want to use from the dropdown menu.
- Adjust the tiling and offset settings to control how the texture atlas is applied to the material.
UV Mapping
UV mapping is the process of assigning 2D coordinates to a 3D model, which allows textures to be applied accurately. In Unity, you can use the UV Editing tools to adjust the UV mapping of your models. To use the UV Editing tools in Unity, follow these steps:
- Select the 3D model you want to edit in the Scene view or the Hierarchy window.
- Click on the Open UV Editor button in the Inspector window.
- Use the UV Editing tools to adjust the UV mapping of your model.
- Apply your changes and close the UV Editor.
Texture Compression
Texture compression is the process of reducing the size of your texture files, which can improve performance and reduce loading times. Unity supports a variety of texture compression formats, including ASTC, ETC, and PVRTC. To compress your textures in Unity, follow these steps:
- Select the texture you want to compress in the Project window.
- In the Inspector window, select the compression format you want to use from the Texture Compression dropdown menu.
- Adjust any other compression settings as desired.
- Click on the Apply button to save your changes.
Best Practices for Adding Textures to Materials in Unity
When adding textures to materials in Unity, there are several best practices you should keep in mind:
- Use high-quality textures that are optimized for your game.
- Use the correct texture resolution for each texture in your game.
- Avoid using too many textures or textures that are too large, as this can reduce performance.
- Use texture atlases to combine multiple textures into a single file.
- Use compression to reduce the size of your texture files.
- Test your game on a variety of devices to ensure that performance is optimized.
Using Texture Channel Packer in Unity
Texture Channel Packer is a useful tool that can make it easier to add textures to materials in your Unity project. When working with textures, they are often packaged as individual texture images. However, Unity’s materials often expect textures to be “packed” into different channels of a single texture file. This can make it difficult to use other textures in your project.
Texture Channel Packer solves this problem by allowing you to easily re-pack individual textures into a single texture file. This makes it much easier to use other textures in your Unity project. Here’s how to use Texture Channel Packer in Unity:
- Download and install Texture Channel Packer from the Unity Asset Store.
- Import your individual texture files into your Unity project.
- Open Texture Channel Packer from the Unity Editor.
- Select the textures you want to pack into a single file.
- Choose the channels you want to use for each texture.
- Click the “Pack” button to create a new texture file with all of the selected textures packed into it.
- Apply the new packed texture to your material in Unity.
By using Texture Channel Packer, you can save time and make it much easier to add textures to materials in your Unity project. This tool is especially useful for game developers who need to work with multiple textures and materials.
Benefits of Using Texture Channel Packer
There are several benefits to using Texture Channel Packer in your Unity project. These include:
- Saves time: Texture Channel Packer makes it easy to re-pack individual textures into a single texture file, saving you time and effort.
- Improved performance: By using a single texture file instead of multiple textures, you can improve the performance of your Unity project.
- Easy to use: Texture Channel Packer is a user-friendly tool that is easy to use, even for beginners.
- Customizable: You can choose which channels to use for each texture, giving you more control over the final result.
- Affordable: Texture Channel Packer is an affordable tool that is available on the Unity Asset Store.
Texture Channel Packer is a useful tool that can make it much easier to add textures to materials in your Unity project. By using this tool, you can save time, improve performance, and create better-looking games. Give it a try and see how it can improve your workflow in Unity.
Conclusion
Adding textures to materials in Unity is a powerful way to enhance the visual appeal of your game. By following the steps outlined in this article, you can create stunning 2D and 3D games that are sure to impress your players. Remember to use high-quality textures, optimize your texture files, and test your game on a variety of devices to ensure that performance is optimized.
Adding textures to materials in Unity is a crucial aspect of creating visually stunning games. However, it can also be a complex and time-consuming process. Luckily, there are tools available to make this process easier and more efficient.
By using these tools, you can save time and effort in the texture creation process, while still creating visually stunning games. These tools are affordable, easy to use, and compatible with recent versions of Unity.
In conclusion, if you want to create visually stunning games in Unity, you should consider using Texture Channel Packer and Material Library. These tools will help you save time and effort while still allowing you to create high-quality textures for your Unity project. Give them a try and see how they can improve your workflow in Unity.
FAQs
What types of texture files does Unity support?
Unity supports a variety of texture file types, including PNG, JPG, and BMP.
Can I use multiple textures on a single material in Unity?
Yes, you can use texture atlases to combine multiple textures into a single file.
How can I optimize the performance of my game when using textures in Unity?
You can optimize the performance of your game by using high-quality textures, avoiding too many textures or textures that are too large, using texture atlases, compressing your texture files, and testing your game on a variety of devices.
Can I adjust the UV mapping of my 3D models in Unity?
Yes, you can use the UV Editing tools in Unity to adjust the UV mapping of your 3D models.
What is texture compression, and why is it important?
Texture compression is the process of reducing the size of your texture files, which can improve performance and reduce loading times. It is important because it can help to ensure that your game runs smoothly on a variety of devices.


.avif)


.avif)