Using Lerp in Unity
As a Unity game developer, I need to create smooth animations, movement, and transitions all the time. I don’t want my character to instantly teleport from one spot to another. And, I need my hit effect to transition in and out, not switch on and off.
To make smooth transitions, I use the Lerp method.
What you need to know
- Lerp helps you to transition from one value to another value.
- Lerp takes three inputs. The initial value, the final value, and a percentage.
- The percentage tells lerp where the result should land between the initial and final value.
- To use lerp with a float value, call
Mathf.Lerp(float initial, float final, float percentage)
What you’ll learn in this article
If you want to create a great game, you need to use smooth transitions and animations.
In this article, I’ll tell you everything that I know about the lerp function.
If you stick through to the end, you will learn what Lerp is. You’ll see how it works. And, you’ll have practical examples of how to use it in your Unity projects.
What is Lerp?
Linear interpolation, or Lerp, is a math function. It calculates the intermediate values between one value and another. In Unity, you can use this function to transition between two values over time.
I’ll give some examples. You can use Lerp to smoothly move a game object. You can use it to gradually change the color of a material. And, you can use it to slowly scale an object’s size up or down.
If you want to linearly interpolate a rotation, you should use the Slerp method.
What parameters does Lerp take?
The Unity Lerp function, Mathf.Lerp() takes three parameters.
- Start value
- End value
- Interpolator
The function then returns the interpolated value. The interpolated value is a single value between the start and the end values. That value is based on the interpolator parameter.
What is an interpolator value?
Sometimes, you will see the interpolator referred to as the “time” parameter, or the “percentage” parameter.
What you need to know is that the interpolator is a value between zero and one.
- If the interpolator is 0, lerp returns the start value.
- If the interpolator is 0.5, lerp returns the midpoint between the start and end values.
- If the interpolator is 1, lerp returns the end value.
How has Unity implemented lerp?
Unity has implemented lerp for various classes. You can find lerp implementations for:
- float
- Vector2
- Vector3
- Color
- Quaternion
Unity implemented lerp for even more than just these classes.
Here are a few examples of built-in lerp function method declarations:
public static Vector3 Lerp(Vector3 a, Vector3 b, float t);

public static float Lerp(float a, float b, float t);

public static Color Lerp(Color a, Color b, float t);
In this method,
- ‘a’ is the initial value to interpolate from.
- ‘b’ is the target value to interpolate to.
- ‘t’ is the interpolator. That’s the value between 0 and 1 that represents how much of ‘a’ we want vs. how much of ‘b’ we want.
How do I use Lerp to change an object’s position?
One common use of Lerp is for smooth movement of game objects. Suppose you want to move a character from point A to point B. Of course, you don’t want the character to suddenly teleport to point B. Instead, you want the character to move that distance gradually over time. You can achieve this by using Lerp like this:
using UnityEngine;

public class CharacterMovement : MonoBehaviour

{

   public Transform startPoint;

   public Transform endPoint;

   public float duration = 2f;

   private float timeElapsed = 0f;

   void Update()

   {

       timeElapsed += Time.deltaTime;

       float t = Mathf.Clamp01(timeElapsed / duration);

       transform.position = Vector3.Lerp(startPoint.position, endPoint.position, t);

   }

}
How do I use Lerp to change an object’s color?
You can also use Lerp to create smooth color transitions. For example, suppose you want to change the color of an object from red to blue. But, you don’t want it to instantly change. You want the color to change slowly over time. The following script demonstrates how to achieve this effect:
using UnityEngine;

public class ColorTransition : MonoBehaviour

{

   public Color startColor = Color.red;

   public Color endColor = Color.blue;

   public float duration = 3f;

   private float timeElapsed = 0f;

   void Update()

   {

       timeElapsed += Time.deltaTime;

       float t = Mathf.Clamp01(timeElapsed / duration);

       GetComponent<Renderer>().material.color = Color.Lerp(startColor, endColor, t);

   }

}
How do I scale an object with Lerp?
Another useful application of Lerp is scaling game objects. Let’s say you want to resize an object from its original size to a target size. And, like the other examples, you want to resize it gradually over time. You can utilize Lerp in the following manner:
using UnityEngine;

public class ObjectScaler : MonoBehaviour

{

   public Vector3 startScale = Vector3.one;

   public Vector3 endScale = new Vector3(2f, 2f, 2f);

   public float duration = 1.5f;

   private float timeElapsed = 0f;

   void Update()

   {

       timeElapsed += Time.deltaTime;

       float t = Mathf.Clamp01(timeElapsed / duration);

       transform.localScale = Vector3.Lerp(startScale, endScale, t);

   }

}
Basic Tips for using Lerp
Using Delta Time
When you use Lerp in an update function, it will run every frame. But, your game might render more frames on one computer than another. So, you need to normalize the interpolator using the amount of time that each frame takes. You do this by multiplying the interpolator by Time.deltaTime. This step ensures that the interpolation occurs at a consistent rate across different devices. If you want your game to be consistent on different hardware, you need to use Time.deltaTime.
Clamping Values
Lerp will overshoot or undershoot values.
If you provide an interpolator that is greater than one, lerp will overshoot. This means that the result will be greater than the final value.
If you provide an interpolator that is less than zero, lerp will undershoot. This means that the result will be less than the start value.
To avoid overshooting or undershooting the target value, you should use Mathf.Clamp01 on your interpolator. The clamp function restricts the value between 0 and 1. This makes sure that the interpolation stays within the right range.
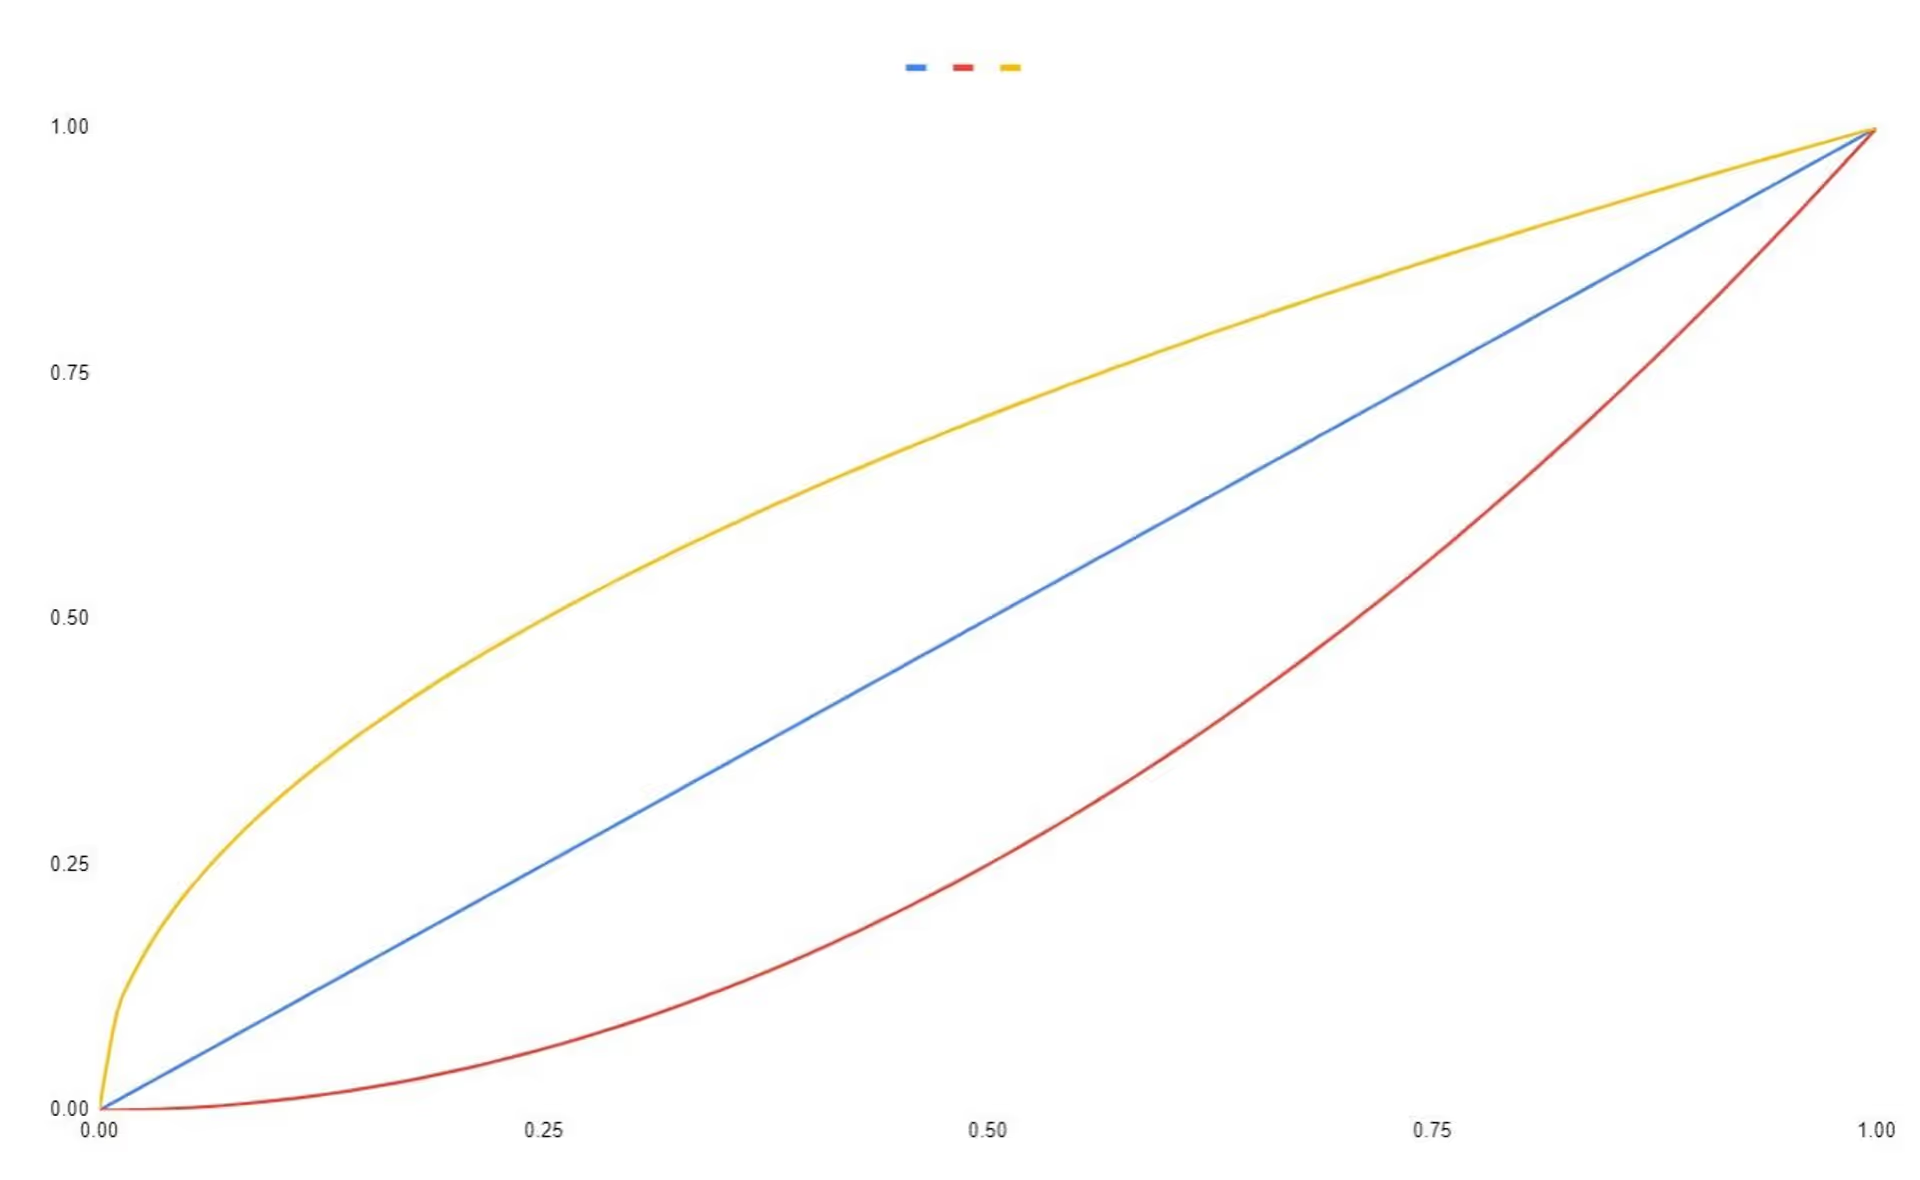
Using Ease Functions
Lerp provides linear interpolation by default. Linear interpolation can sometimes look a little robotic or mechanical.
To add more organic motion, you can incorporate ease functions. Examples of ease functions include:
- Ease In
- Ease Out
- Ease In Out
These functions change the way the interpolation curve looks. This gives your animations a more natural feel. You can also author custom animations using bezier curves to get the perfect look.
Advanced Lerp Techniques
Bezier Curves and Lerp
Beyond the basic linear interpolation, Unity supports Bezier curves. Bezier curves offer more control over how the interpolation works.
Bezier curves use control points to shape the interpolation curve. This opens the door for more complex and lifelike animations.
Should I use Lerp or Slerp?
You need to use Vector3.Slerp to handle rotations correctly.
Slerp stands for spherical linear interpolation and is specifically designed for interpolating rotations between two angles.
Lerp can handle rotations. Kind of. But, Slerp ensures the most accurate rotations and handles special cases that normal Lerp ignores. You should always use Slerp when interpolating between two Quaternions.
Custom Lerp Functions
Unity has created a bunch of built-in Lerp functions for you. But, you can also create custom interpolation methods for your specific needs. Custom Lerp functions enable you to have full control over how values are interpolated.
They can be a powerful tool for creating unique animations.
Practical Examples
Smooth Camera Follow
Implementing a smooth camera follow is essential for providing players with a seamless gaming experience. You can use Lerp to follow the player character smoothly, keeping them centered on the screen as they move around the game world.
Animated UI Transitions
Lerp can enhance user interface (UI) elements by creating fluid transitions between different screens or components. For example, you can use Lerp to fade in and out UI elements gradually, adding a polished touch to your game’s UI.
In our UI Gradient shader, we use interpolation to blend between gradient keyframes in the UI.
Dynamic Object Movement
In scenarios where objects need to react to player actions or environmental changes, Lerp can be used to animate these movements smoothly. For instance, you can use Lerp to make a door open and close gradually when the player approaches or interacts with it.
Common Mistakes to Avoid
Lerp Overuse
While Lerp is a powerful tool, overusing it can lead to excessive smoothness, causing your animations to look unrealistic or artificial. Be mindful of when to apply Lerp and when other animation techniques might be more suitable.
Not Using Ease Functions
As mentioned earlier, not using ease functions can result in animations feeling robotic. Adding ease-in and ease-out effects can greatly improve the overall quality of your animations.
Interpolating Non-Continuous Values
Lerp works best with continuous values such as positions, colors, and scales. Avoid using Lerp for non-continuous properties, as it may lead to unintended or glitchy behavior.
Start Using Lerp in Your Projects
Lerp is a great tool for game developers. If you want to create great looking games, use Lerp. In this article, we showed how you can use lerp for position, color, and object scale transitions. By using this technique across your game, you can make your game more fluid and realistic.
Remember to avoid common mistakes with Lerp. Use delta time and clamp the input values when it is appropriate to do so. Use easing functions to spice it up. Later on, explore advanced Lerp techniques like Bezier curves and custom functions to take your animations to the next level.
FAQs
Q: Can I use Lerp for non-numeric properties, such as material transitions?
A: Yes! Lerp primarily works with numeric properties. But, you can use it to transition a material property from one value to another.
For example, you can transition your character’s sword from silver to gold. You can also use custom Lerp functions or other animation methods to achieve material transitions or non-numeric animations.
Q: Does Lerp work for 2D games as well?
A: Absolutely! Lerp is not limited to 3D games and works just as effectively in 2D game development.
Q: What is the difference between Lerp and Slerp?
A: Developers use Lerp for linear interpolation of numeric values. On the other hand, Slerp (Spherical Lerp) is specifically designed for interpolating rotations. Use Slerp for rotations. Use Lerp for everything else.
Q: Do I need to normalize my vectors before using them with Lerp?
A: It depends. If your vector represents a direction, then you should normalize the vector. If your vector represents a position, then you should not normalize the vector. That’s because normalizing the vector will remove information about the position about only return the direction.
Q: Can I use Lerp to create animations between multiple waypoints?
A: Yes, you can create complex animations like this. To do this, you need to chain Lerp operations between multiple waypoints.
- First, interpolate from waypoint A to waypoint B.
- Then, interpolate from waypoint B to waypoint C.
- Finally, interpolate from waypoint C to waypoint A.
- At this point, you repeat the process from step 1.
Q: Is Lerp suitable for real-time procedural animations?
A: Lerp can be used for real-time procedural animations. But, it is not the best choice for more complex animations. For advanced animations, you should explore other animation techniques. Consider looking into bezier curves or custom interpolation.